What you should know about floor sanding and restoration?
Floor Sanding Every ... Years?
This is a genuinely subjective question, and there are a lot of variables at play. If you're chasing a perfectly unblemished, flawless-looking floor at all times, the honest answer is: every few years. The uncertainty comes from the factors that actually influence how quickly a floor's finish wears down. How much daily traffic is the floor expected to take? Do you have kids, or pets with claws? Is moisture a recurring issue in the room? Was the floor even laid correctly in the first place?
As you can see, plenty of things affect a floor's condition over time — but the single biggest factor is your own expectations. If you're happy with a less-than-pristine finish and your floor isn't dealing with any extreme wear or damp issues, sanding roughly once a decade is unlikely to cause serious structural problems. Be clear-eyed about the trade-off, though: the surface will genuinely look worn and aged in the meantime, and that's the price of a longer sanding interval. The real question isn't "how often should I sand" in the abstract — it's how much you personally value a consistently sharp appearance versus how much disruption and cost you're willing to accept to maintain it.
As a rough general guide (and it really is only a guide, since every floor and household is different): a floor in a light-traffic room like a bedroom or formal sitting room can often go 10–15 years between full sands, a moderate-traffic living or dining room more like 7–10 years, and a genuinely heavy-traffic hallway, kitchen, or family room with kids and pets may need attention closer to every 5–7 years. Factory-prefinished floors with an aluminium-oxide coating typically sit at the longer end of that range or beyond, since that finish is specifically engineered to outlast a standard site-applied lacquer. None of these numbers should be taken as gospel — they're a starting point for thinking about your own floor, not a fixed schedule.
Dustless and Dust-Free?
Plenty of flooring companies advertise "dust-free" sanding. Does dust-free sanding actually exist, or is it purely a marketing line?
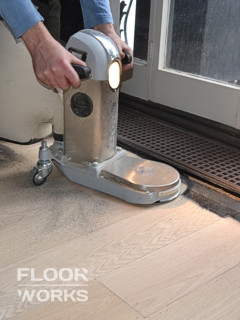
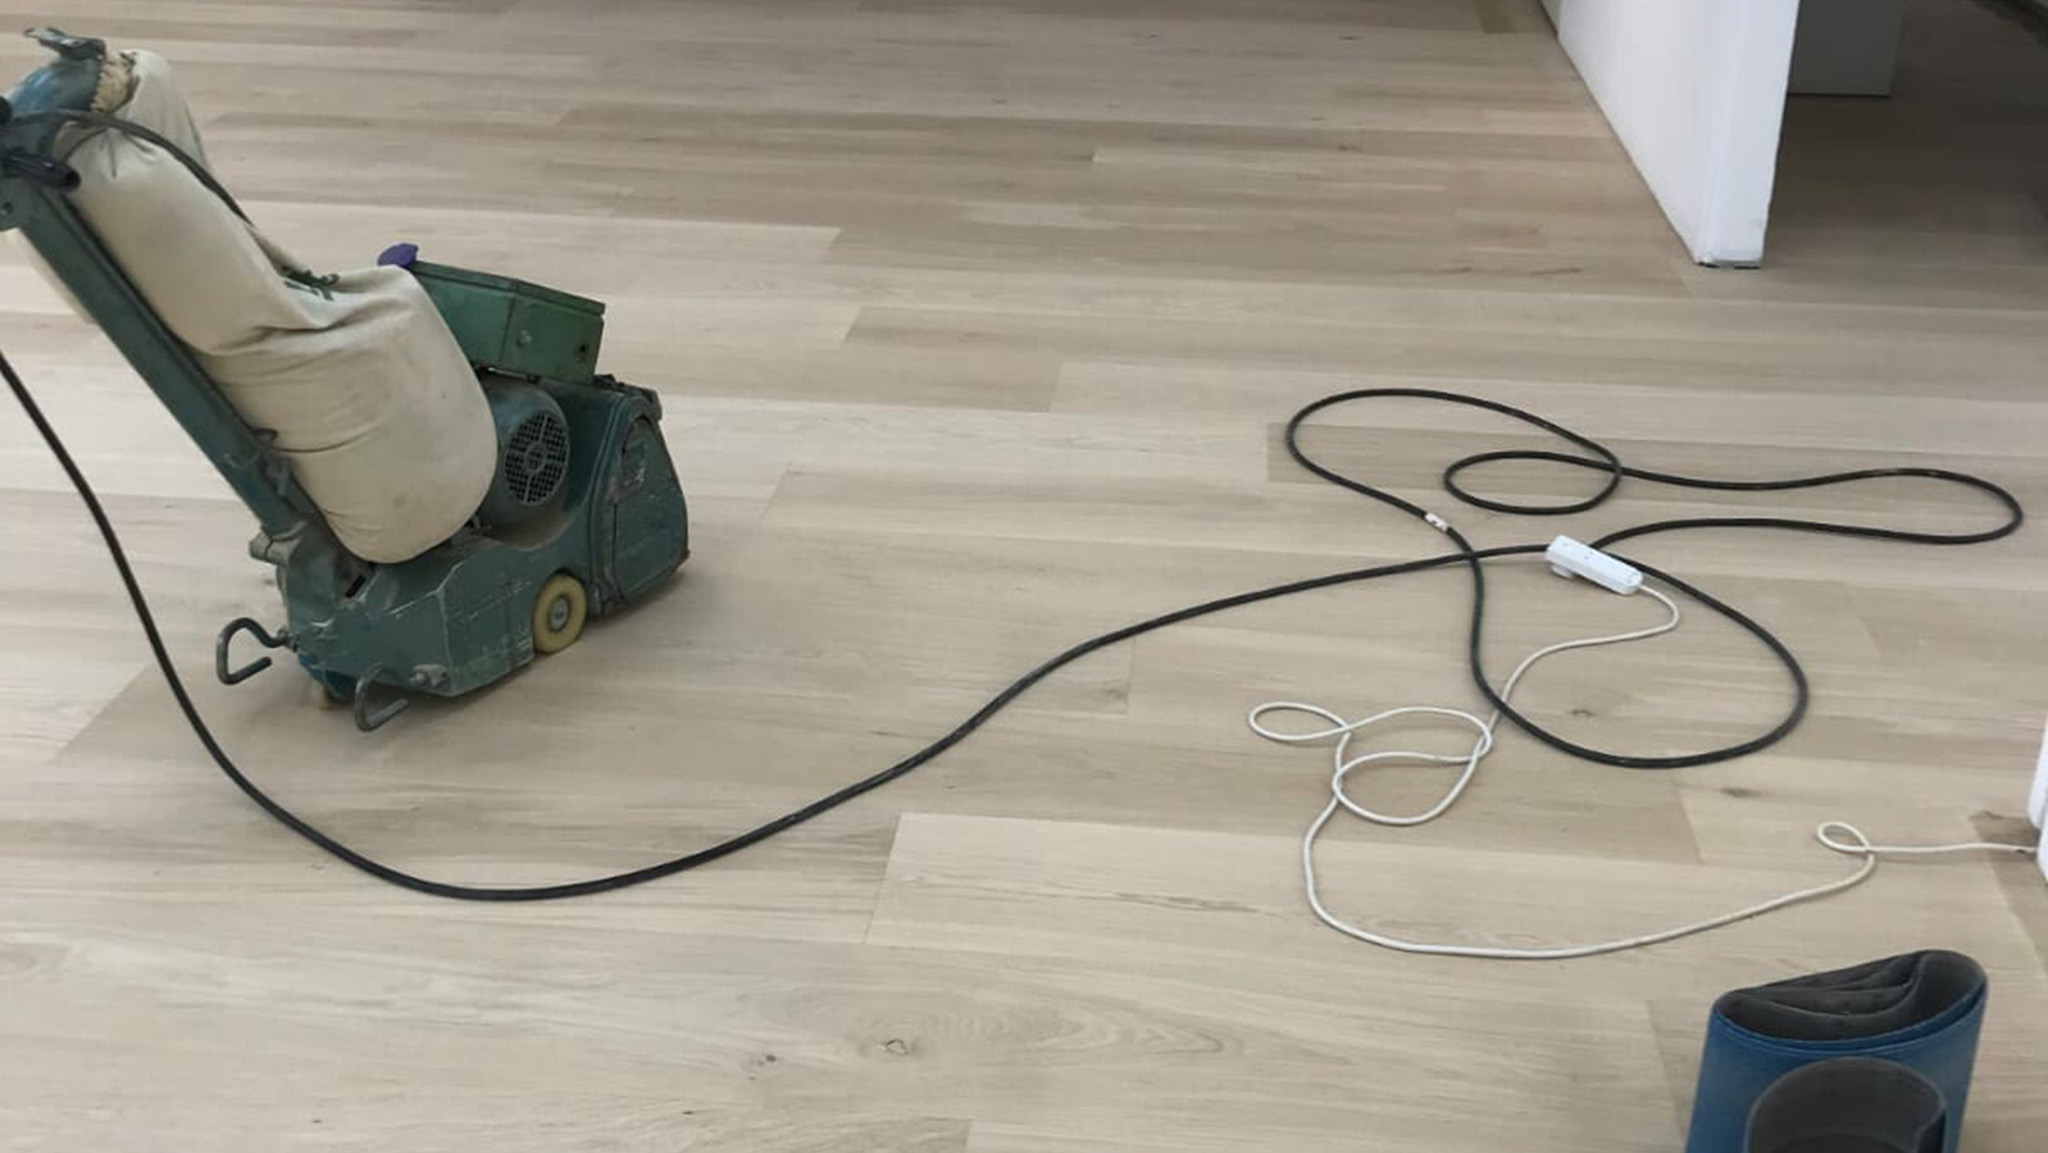
There are two main types of sanding machine in general use: belt sanders and older-style drum sanders (the choice of equipment, and whether to run it yourself or bring in a professional to do so, is worth thinking through separately). Belt sanders are, without question, the more modern and more capable piece of equipment — they produce a more even finish and, critically, offer far superior dust collection through a sealed head connected to an extraction unit, rather than relying on a basic bag alone. That said, "dust-free" is genuinely a bit of an overstatement rather than a literal description. Even the best belt sander with a properly sealed dust extraction system captures the vast majority, but not all, of the sawdust generated.
Put a number on it, and modern dust extraction typically captures somewhere in the region of 95–99% of the dust produced during a sanding job — genuinely excellent, and a night-and-day difference from older equipment, but not literally zero. The small remaining fraction is mostly very fine, airborne particles that stay suspended for a while before settling out of the air over the following hours. In practice, that means a room sanded with modern dust-extraction equipment is dramatically cleaner during and immediately after the job than one done with old-style equipment, but it's still sensible to give the room a light wipe-down after a few hours, rather than expecting truly zero residue the moment the machine switches off.
Sanding Is Not Just Sanding
If you've never had any previous contact with the flooring industry, it's an easy assumption to make: the contractor turns up, runs some specialised (supposedly dust-free) equipment over the floor, applies a coat of finish, and leaves. Sounds simple enough. That's not really what happens, though. Sanding, properly done, means a complete and thorough floor restoration — there's no more serious intervention a floor can go through short of full replacement, and it represents a genuine investment of both time and money.
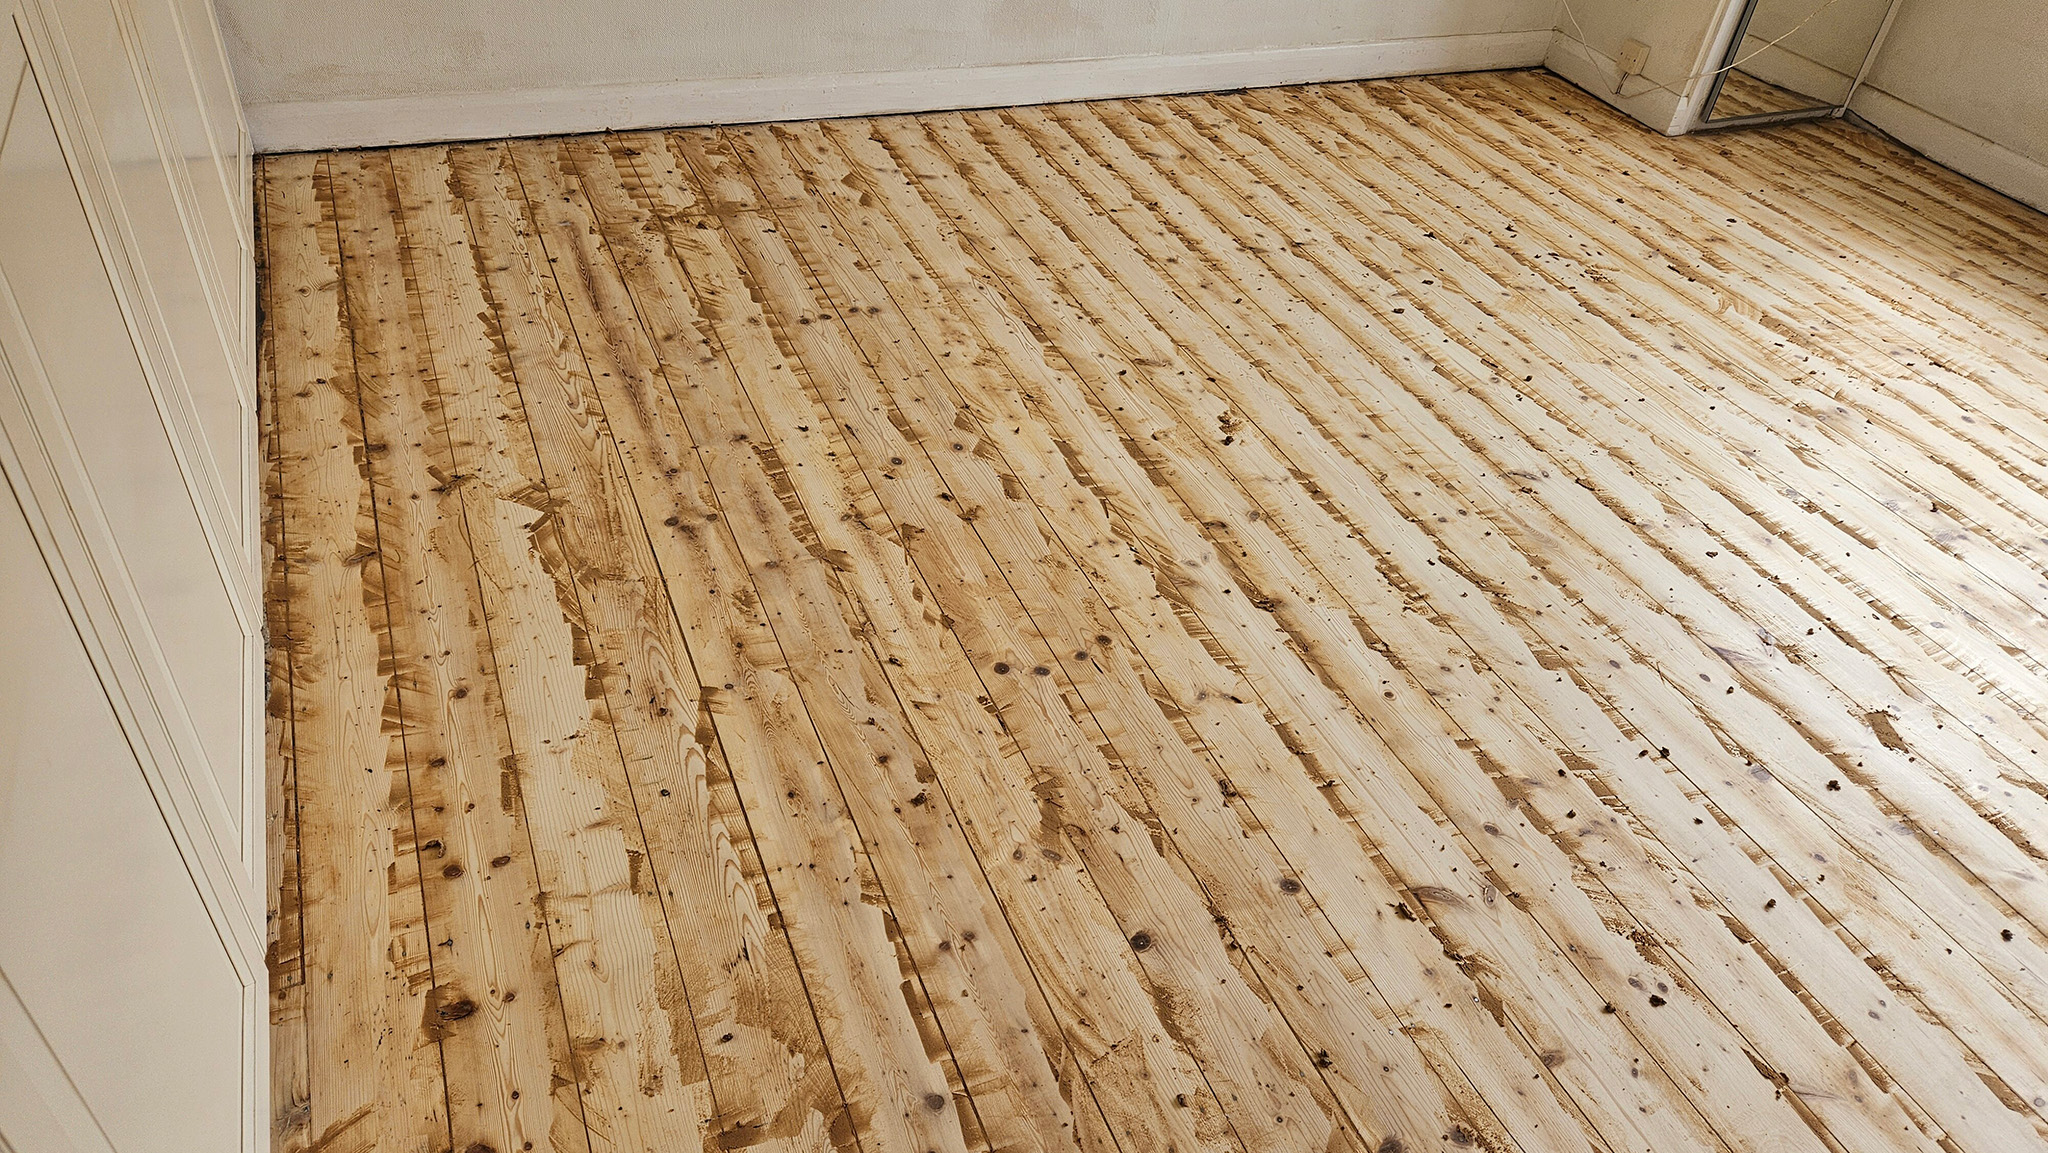
A typical restoration includes several distinct stages: repairing any damaged or loose floorboards first, levelling the subfloor if its surface is uneven (sanding an unstable or uneven substrate is largely pointless, since the unevenness will simply telegraph straight through), sanding through a sequence of progressively finer grits, filling the gaps between boards, a final buffing pass to smooth everything ready for finishing, staining if a colour change is wanted, and then applying however many coats of finish the chosen product requires. That's a lot of distinct steps, each with its own drying or curing time between them — a straightforward single room might realistically take one to two days from start to finish, while a full house restoration with staining and multiple finish coats can easily stretch across the best part of a week once every stage and drying interval is accounted for. Floor restoration genuinely is complex, multi-stage work, and the timeline scales directly with how severe the existing issues are.
Floor Sanding or Buffing & Re-coating?
Listening to some flooring companies and product manufacturers, you'd be forgiven for thinking that anything short of maximal, frequent sanding leads inevitably to disaster. It doesn't — sanding isn't the only tool available. Buffing, also called screening, is a considerably cheaper alternative that keeps a floor in good condition for a much smaller investment of time and money. It works similarly to sanding in principle, using an abrasive pad (a screen) to lightly key the surface and remove minor imperfections, but it only abrades the very top of the existing finish rather than cutting down into bare wood, and it's usually followed by a fresh coat of finish rather than a full strip-back. A full sand is genuinely the only option for severe surface damage — deep dents, heavy scratching through to bare timber, extensive discolouration — but those issues, if you're maintaining the floor reasonably well, shouldn't be a frequent occurrence. Stay on top of minor wear before it turns into serious damage, and a full sand genuinely can become a rare necessity rather than a routine one.
So how often should you actually buff? Some people do it religiously every week, which is largely pointless unless the floor is genuinely handling commercial-grade traffic — a busy retail unit or restaurant, say, rather than a family home. Others screen and recoat every few months, which is a far more sensible cadence for an averagely busy household. More often than not, though, the simplest and most reliable signal is a visual one: when the areas of floor closest to the walls, under furniture, or in low-traffic corners look noticeably glossier and shinier than the well-worn central pathways, that's a clear sign it's buffing time. The contrast happens because the finish in low-traffic spots hasn't had years of foot traffic dulling its sheen the way the busy areas have — comparing the two directly on your own floor is a genuinely reliable, no-cost way to judge timing for yourself, without needing to guess at a fixed interval.
Large Gaps, Visible Nails — Do I Need a Replacement?
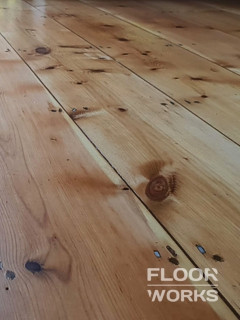
Sanding works by removing the existing worn finish and replacing it with a fresh one — but in the process of abrading that old finish away, you also inevitably remove a thin layer of the hardwood underneath it. Do that enough times, and eventually you reach a point where further sanding would expose the fixing system holding the boards down, including the nail or screw heads themselves (we've covered the nails-versus-screws question in more depth separately, if you're weighing up how your own boards were originally fixed). This ceiling is especially important to bear in mind with engineered floors, where the real hardwood veneer on top of the plywood core is often only a few millimetres thick — considerably less headroom for repeat sanding than a solid hardwood floor has.
That said, seeing visible nails doesn't automatically mean the floor needs replacing. With original, older floorboards, exposed nail heads are sometimes simply part of the floor's honest, period character, and were never meant to be invisible in the first place. In other cases, a floor may have been laid poorly to begin with, or the underlay beneath it may have proven too weak to properly support the boards — either of which can cause the floor to shift slightly over time and push nails back up toward the surface, independent of how much sanding has been done. Unfortunately, a small number of less scrupulous contractors have been known to point to exactly this kind of cosmetic nail popping as supposed proof that a floor is beyond saving, when in reality it's a straightforward, inexpensive fix — re-securing the boards rather than tearing the whole floor out.
None of this is to say replacement is never genuinely necessary — sometimes it absolutely is, and a contractor raising the issue may well be doing you a real favour by flagging it early. The sensible response either way is the same: ask for clear, specific evidence of the problem rather than taking a verbal assessment at face value, and don't feel awkward getting a second opinion — our guide on finding a reliable flooring contractor covers exactly what to look for if you're not sure whether to trust the assessment you've been given — particularly before committing to the considerable extra cost of a full replacement and reinstallation over a straightforward repair.