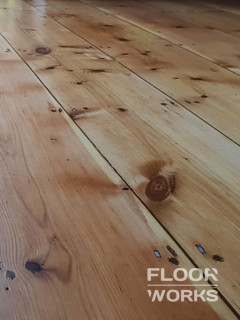
Home preparation for DIY wood floor sanding service
If you own a wood floor, you probably already understand how important treatments like wood floor sanding and refinishing are to keeping it looking its best. Both are genuinely heavy-duty maintenance treatments, and both are recommended periodically to restore the visual condition of your floor — regardless of whether it's solid timber, engineered wood, or a parquet pattern. Yes, that's right: engineered wood and parquet flooring can both be sanded and refinished just as successfully as solid boards, so there's no escaping this responsibility indefinitely, whichever type of wood floor you own. So when the time comes and you start noticing your floor asking for extra attention, it's worth either hiring professional help or doing your research and planning a DIY project properly.
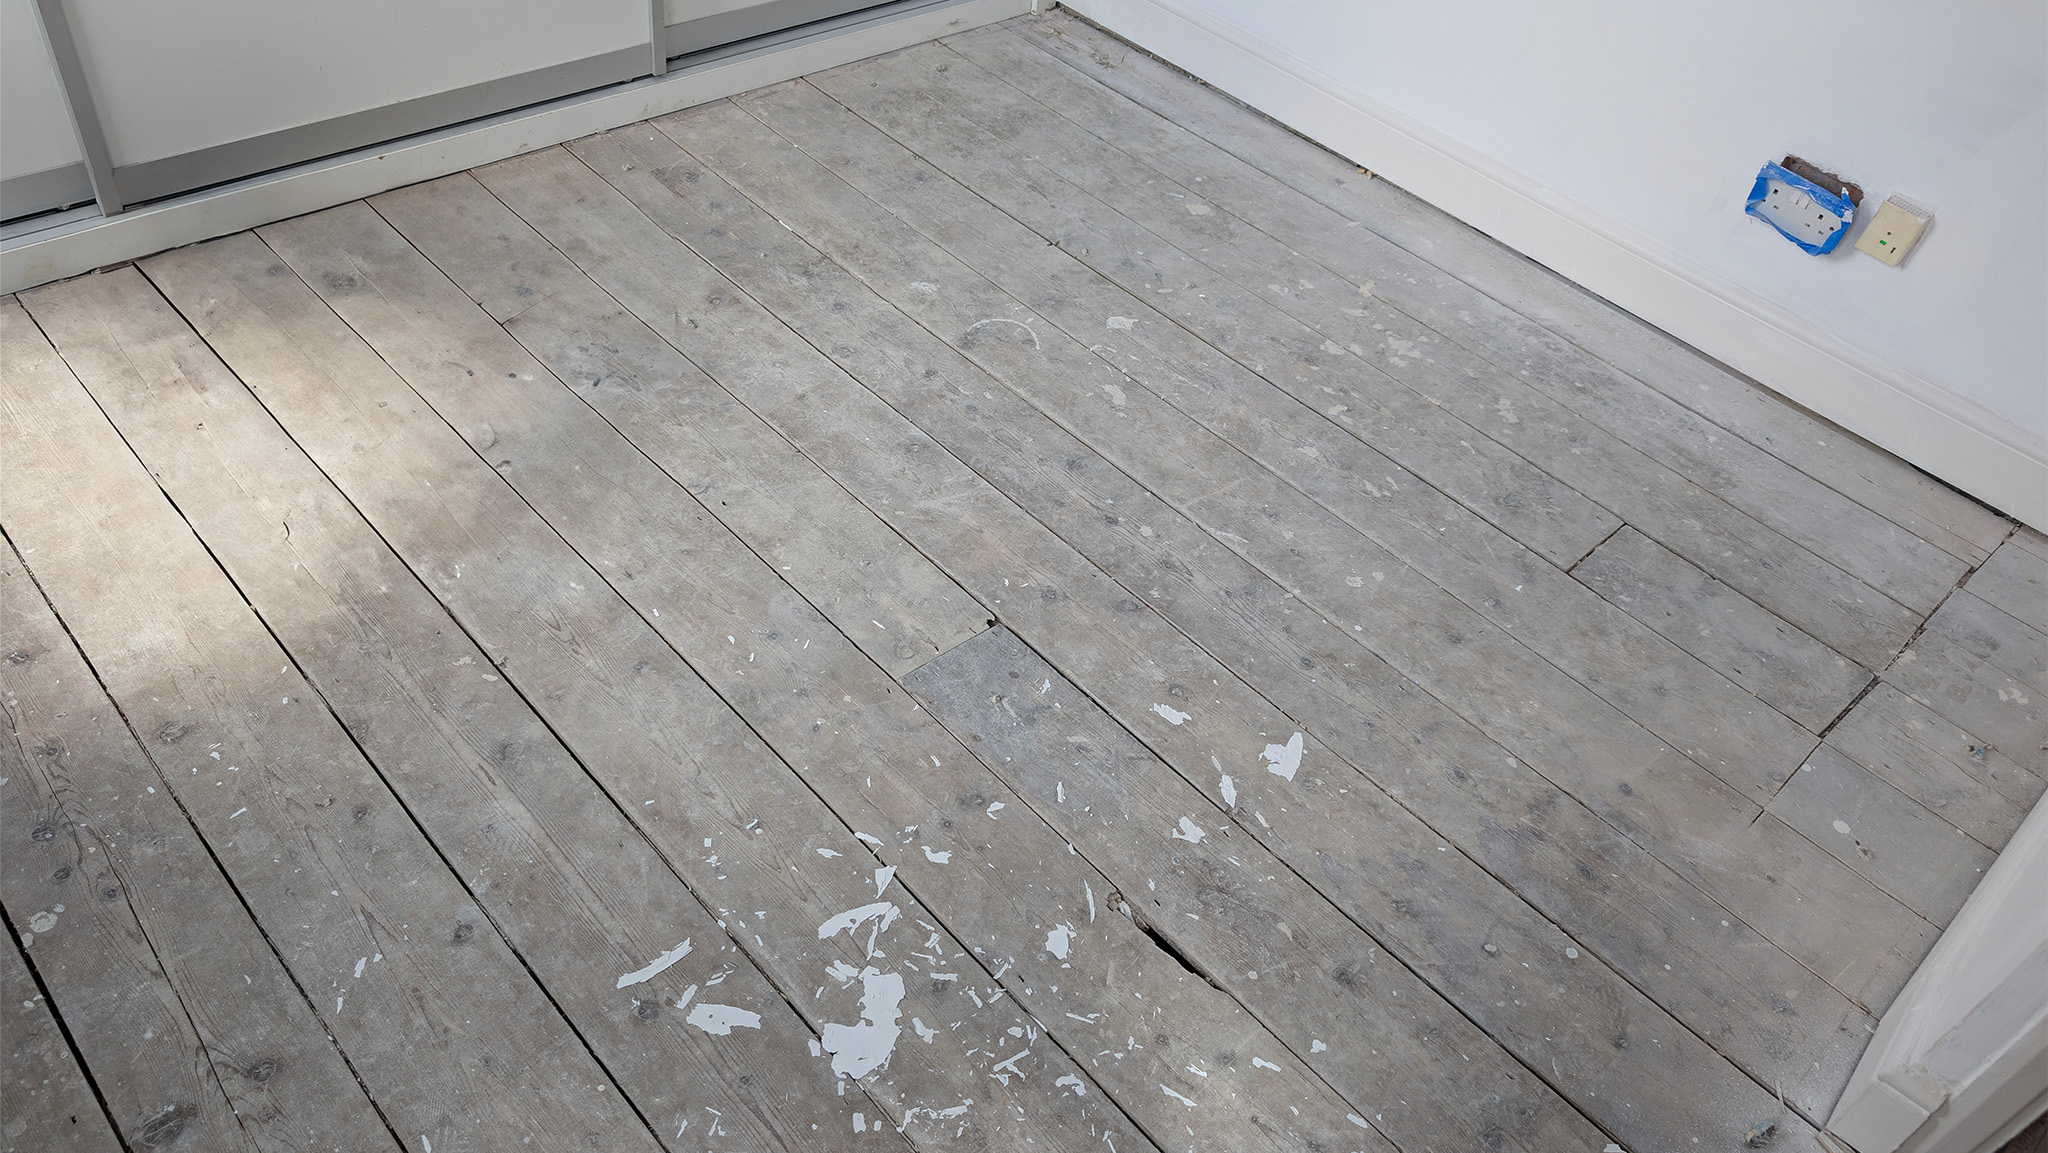
Signs that your wooden floor needs sanding and refinishing
Plenty of owners feel genuinely unsure about the exact point a floor is in serious need of attention, and that's an entirely understandable position to be in. Floor sanding isn't rocket science, but it's still a topic that's genuinely difficult for an untrained eye to judge accurately. Estimating a floor's real condition isn't an instinctive skill — it's built through experience — so even the slightest uncertainty is worth raising with a reliable, experienced contractor who can properly inspect and assess the floor. Even when there's nothing dramatically wrong on the surface, a floor can still be quietly due for attention, so don't underestimate the value of a proper professional opinion over guesswork.
That said, if you feel confident inspecting your own floor for wear and imperfections, here's what to actually look for:
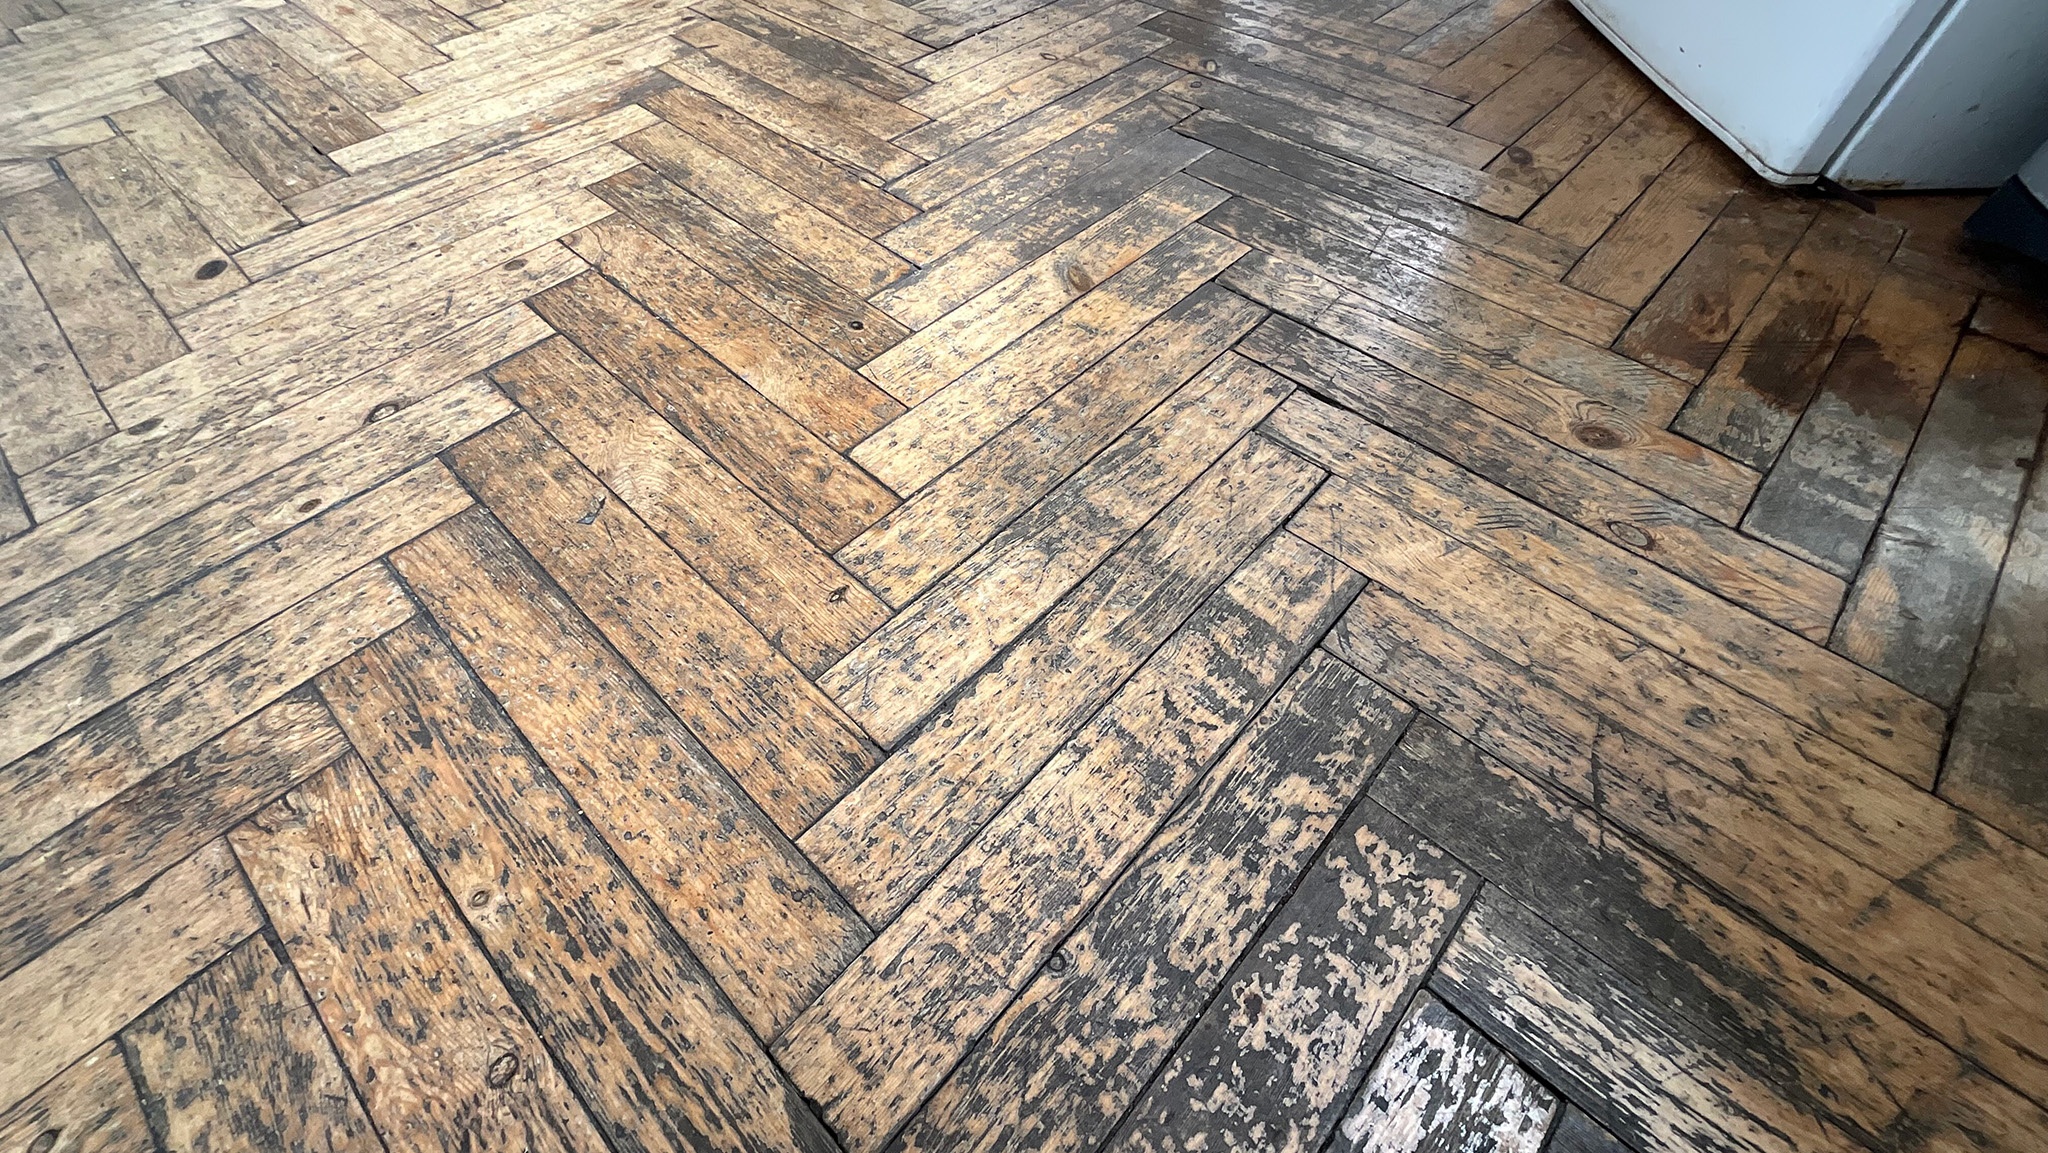
Worn finish. The whole idea behind floor sanding is stripping away the top layer of the floor — primarily the finish itself. Over time, and largely due to high traffic, heavy footfall, and everyday use, that finish gradually wears down. Left unaddressed for long enough, this can progress all the way to visible patches of completely bare, unprotected wood, where the finish's protective power has weakened significantly or vanished entirely in that spot. When it's time to refinish, it's important to match the new finish to whatever type was originally applied — mixing finish types without proper preparation can cause adhesion problems. If you're not sure what type of finish your floor currently has, there are two simple home tests worth trying. First, scratch a small, hidden section of the floor with a coin or another metal object: if a flake visibly chips off, you're dealing with a surface finish like varnish or lacquer. If nothing chips, try placing a few drops of water on the floor instead — white spots appearing where the water sat point to a penetrating finish (oil-based or wax). To narrow it down further between the two, wipe an inconspicuous spot with a white rag dampened with a small amount of ammonia: if the rag picks up a yellow or brownish tint, you're dealing with a wax finish rather than a straight oil. For more detail on how these finishes actually differ day to day, our guide on water-based versus solvent-based polyurethane is worth a read.
Chipping, flaking, and bubbling are all clear signs of a worn or damaged finish too, and tend to show up first around high-traffic pinch points — doorways, in front of sinks, and well-used hallways.
Fine scratches and surface staining affect the overall look of a floor even when the finish underneath is otherwise intact, but a proper sanding pass removes both cleanly, taking the whole surface back to a uniform, unmarked state rather than trying to spot-treat each mark individually.
Dullness or colour fading, often the result of heavy traffic or prolonged sun exposure, generally only affects the surface finish rather than the timber itself, and is one of the more straightforward issues to resolve through sanding.
Generally speaking, a floor that simply looks tired, sad, and worn overall — even without any single dramatic problem — is a strong enough signal on its own that re-sanding is worth considering. If your floor has ended up looking like a patchwork quilt of different wear levels across the room, and that's not a look you're actually going for, refinishing is the reliable way back to a uniform, even, fresh appearance.
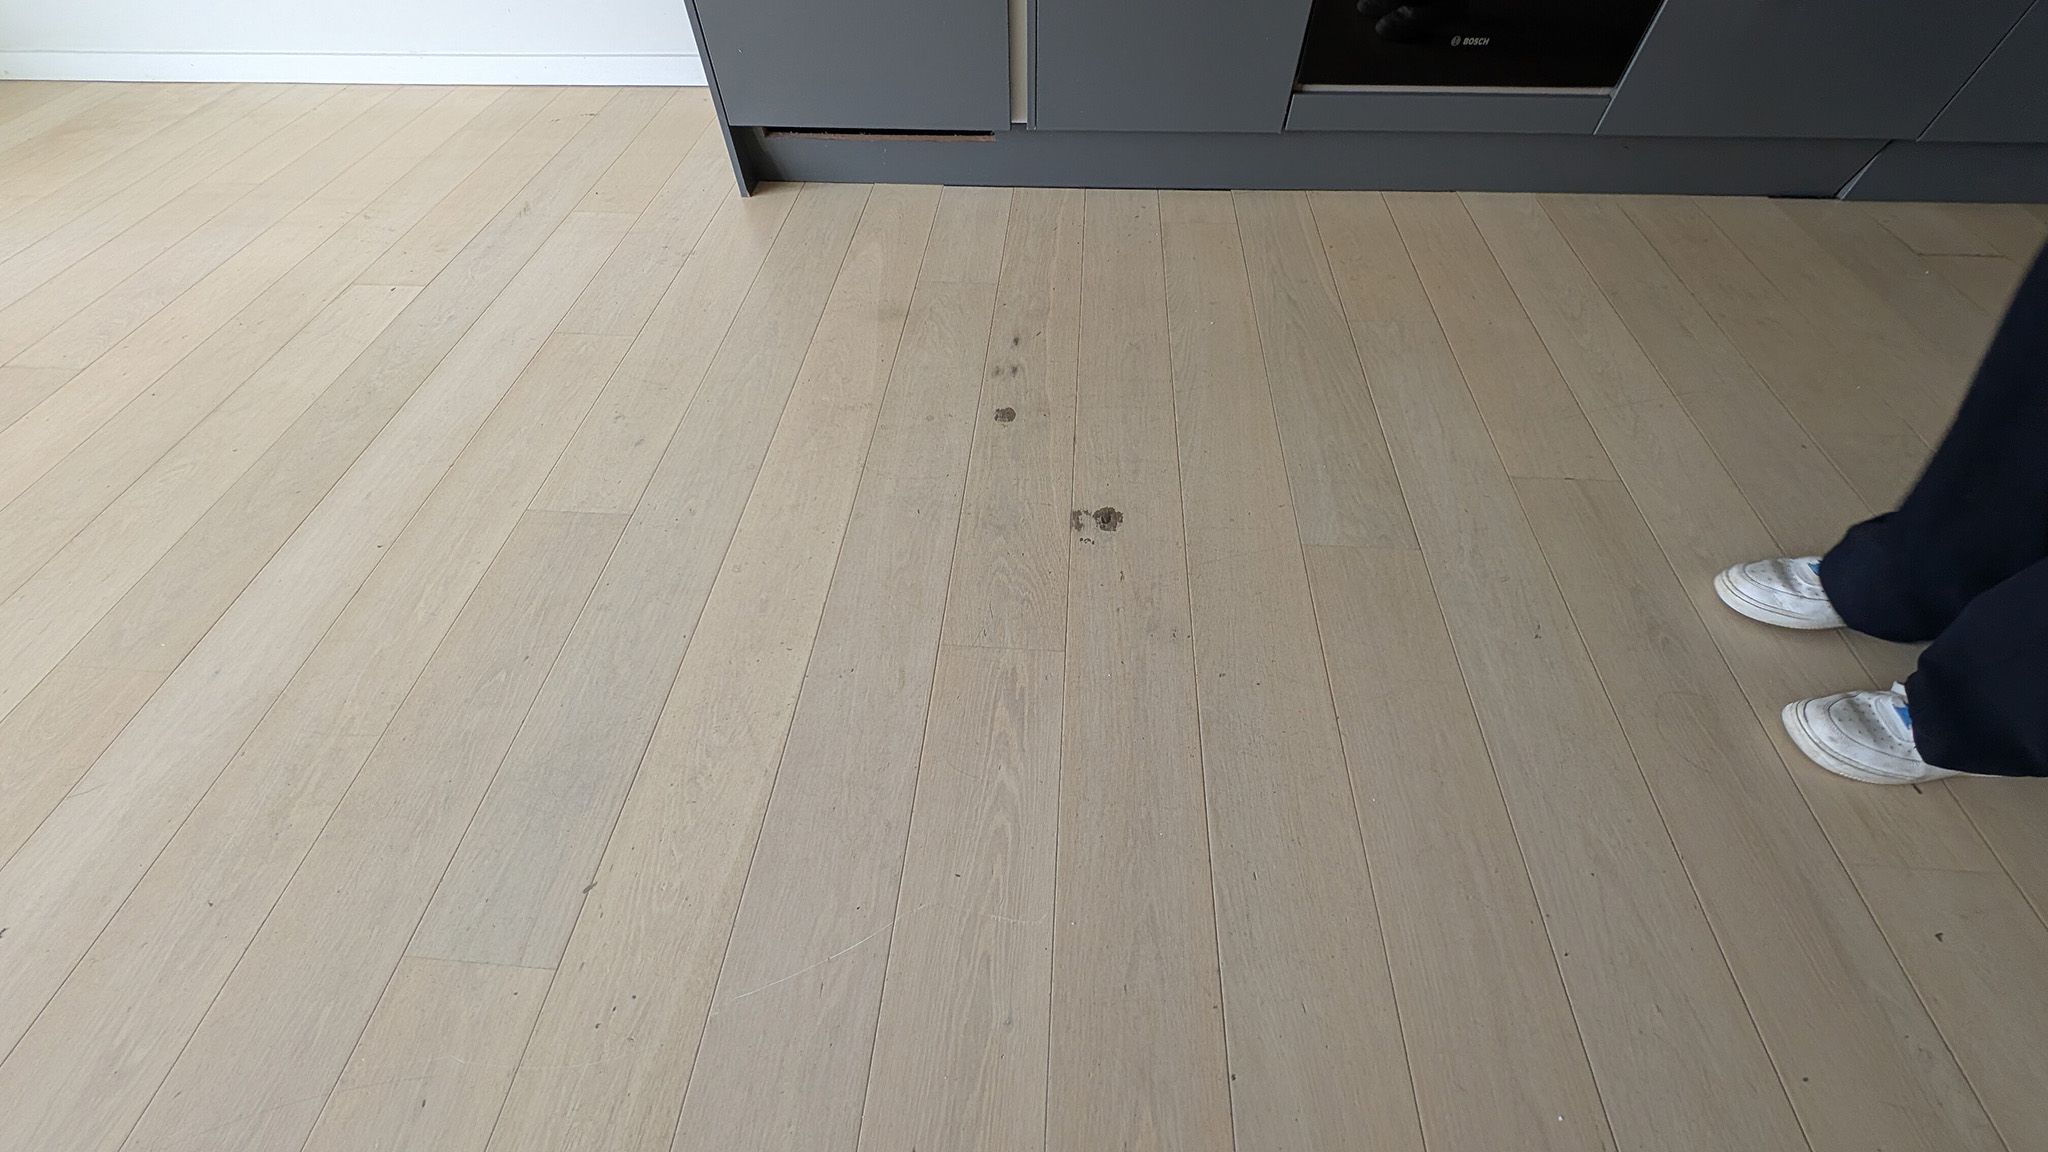
How sanding actually helps improve a wood floor
As mentioned, sanding is the process of removing the top surface layer of a wood floor using sanding paper of varying grit density and coarseness. While stripping away the worn finish, the process typically also removes a thin layer of the bare timber underneath if needed, with the exact amount depending on the thickness of the boards themselves. It's a treatment recommended periodically rather than constantly — over the working life of a floor, it's generally possible for a solid timber floor to be sanded somewhere in the region of six to seven times, while engineered wood, with its considerably thinner top veneer layer, typically has room for around four sands before there's no usable wear layer left. The same improvement process is also recommended for newly installed, unfinished boards, since sanding opens up the wood's natural grain and pores, allowing the finishing product to be absorbed more deeply and evenly — which adds real strength and long-term protection compared with finishing straight over an unsanded surface.
How to prepare my home for a sanding service?
Say you're already at the point of seriously considering a wood floor restoration project. To make sure the whole experience runs smoothly and delivers a genuinely great result, proper preparation matters — whether you're hiring a specialist contractor or handling it yourself as a DIY project. Sanding does have a reputation for being messy and stressful, but that's really only half the story: with good preparation, the process can run remarkably smoothly, with dust kept to a genuine minimum and much of the usual stress avoided entirely. So, without further delay, here's a proper pre-sanding checklist.
Wood floor sanding pre-steps checklist
Plan ahead. Scheduling the whole process properly minimises disruption to daily household life. Realistically, no home renovation feels like a spa day, but a well-planned schedule makes it considerably more bearable. If you're hiring a professional contractor, ask upfront for the schedule the sanding team plans to follow, including which rooms are tackled on which days if the job spans more than one space. If you're planning it as a DIY project, the schedule is entirely down to you — be realistic about how much you can genuinely get done per day, particularly if you're new to the equipment. It's not strictly necessary, but if you suspect the household won't cope well with a few days of disruption and fumes, booking a hotel room for the duration is a perfectly sensible option worth budgeting for.
Remove furniture and rugs. Every piece of furniture, decoration, wall art, rug, and small item needs to be cleared entirely out of the room being worked on. Some professional services include furniture removal as part of the job at no extra cost, so it's worth asking before assuming you'll need to handle it all yourself.
Stock up on plastic sheeting. Even though modern sanding methods keep dust to a genuine minimum compared with older equipment, covering doorways and windows with plastic sheeting still creates a useful extra barrier, stopping fine dust from drifting into the rest of the house while work is underway.
Ensure good ventilation. The drying process after the final coat of finish goes on can take up to a couple of weeks to fully cure, even though the surface will feel dry to the touch well before that. Good airflow through the room speeds up that curing time noticeably, and also helps clear any lingering odour from oil-based products faster.
Clean thoroughly. Pre-cleaning the floor matters just as much as cleaning between each stage of the sanding process itself. Any dust or grit left on the surface risks scratching the bare wood once sanding begins, or getting trapped permanently under the new finish. A powerful vacuum, followed by a mop very lightly dampened with water and a cleaning product formulated specifically for wood floors, is the right combination — avoid anything heavily soap-based or oil-based at this stage, since residue can interfere with how well the new finish bonds.
Inspect the floor properly. While assessing the floor's overall condition, check carefully for any nail heads that have started popping up above the surface, and hammer them back down before sanding begins — otherwise the sander will catch them, and the result can be serious dents, gouges, or a torn sanding belt. (If you're dealing with a lot of loose or popped fixings, our guide on nailing versus screwing floorboards covers why this happens and the best way to fix it properly.) Any other minor repairs the floor needs are best completed before sanding starts too, including gap filling, re-securing loose boards with nails, screws, or adhesive, and any small patch repairs — trying to handle these mid-sand rarely gives as clean a result as sorting them out first.
Whether or not to paint the walls before wood floor sanding
If you're planning a broader home improvement project alongside the floor, you might also want to refresh and repaint the walls. It's worth scheduling that wall-decorating work before the sanding starts rather than after — that way, if any small paint spills or drips land on the floor during painting, the sanding process will remove them naturally rather than leaving you with a separate clean-up job to worry about.
Here's a practical tip for any DIY enthusiasts: gathering every tool and product you'll need in advance saves a genuinely significant amount of time and hassle once the job is underway. Since most of the heavier equipment will likely be rented rather than owned, aim to collect everything from your local hire shop or flooring showroom at least a day ahead of when you actually plan to start, giving yourself a buffer in case anything needs swapping or is out of stock.
Checklist of tools needed for a DIY wood floor sanding project
Cleaning materials — a vacuum machine, a mop, warm water, and a soft liquid soap or a cleaning product specifically designed for wood floors.
Pry bar — needed to carefully remove skirting boards and baseboards ahead of sanding, protecting them from accidental scratches, dents, and knocks from the machinery.
Belt floor sander — the main workhorse for the bulk of the room's open floor area.
Sanding edger — a smaller, more manoeuvrable machine for reaching the nooks, corners, and edges the larger belt sander physically can't access.
Sanding belts and discs — a genuine range of grit densities is essential, since the process moves from coarse grits (to strip old finish and level the surface) through progressively finer ones (to prepare the wood properly for finishing).
Carbide paint scraper — useful for hand-sanding or scraping tight spots and corners the machines simply can't reach, particularly around fitted units or awkward fittings.
Rotary floor buffer with abrasive pads — used for the final smoothing pass before finishing, and later for periodic maintenance buffing between full sands.
Wood floor finish, plus the correct applicators for it — a lambswool applicator or T-bar for lacquer, or a suitable cloth or brush for oil and hardwax oil products, depending on which finish you've chosen.