Floor sanding - do it yourself or hire a professional?
Maybe you think your floor needs a bit of restoration. But do you hire an expert to do it for you or you do it yourself? What are the cons and pros of each?
Maybe you think your floor needs a bit of restoration. But do you hire an expert to do it for you, or do you tackle it yourself? What are the pros and cons of each?
Sanding is something almost every wood floor will need sooner or later. One of the first things most people wonder is whether to get professional help or not, and budget is naturally part of that decision. What you actually need to do is analyse the situation properly: determine how serious the problem is, and honestly evaluate your own skills against it. If you lack the basics and have never done this before, hiring a professional is the safer route. If you feel genuinely confident in your abilities and don't mind a fair amount of hard, physical work, there's no reason not to give it a go — but going in with your eyes open makes a real difference to the outcome.
A few things to consider
Complexity. Floor restoration isn't a simple task. Getting the best possible result means genuinely getting your hands dirty, and there's little point sanding a floor whose boards are uneven, loose, or unstable — sometimes the whole subfloor needs levelling first to give you a surface that's actually suitable for sanding at all. You also need to know how and when to use the sanding equipment, at what grit sequence, how to fill gaps properly before finishing (rather than after, which traps debris under the new coat), and how to apply a stain and finish evenly without lap marks or patchiness. If you're unsure about any part of that chain, it's not the place to improvise.
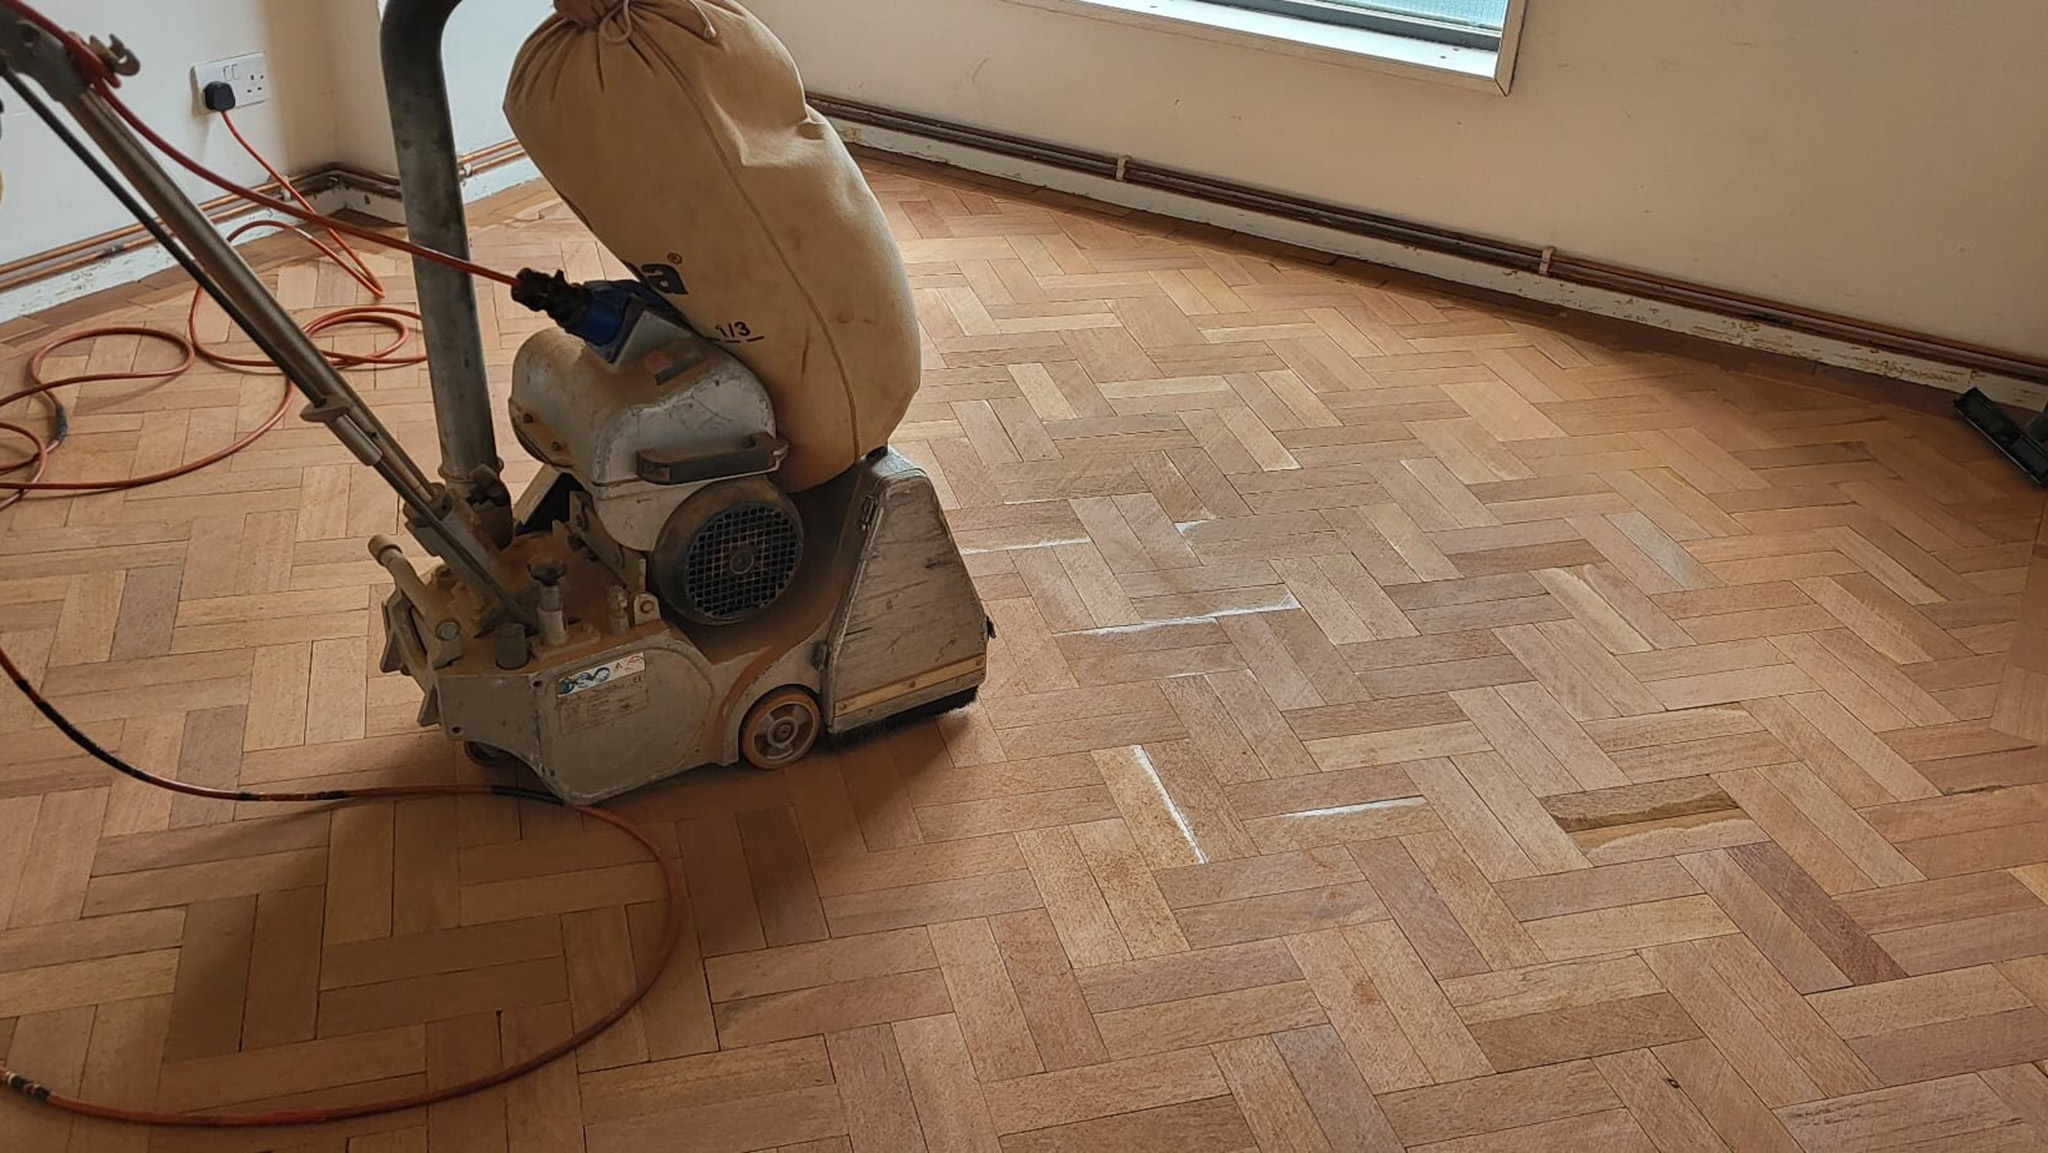
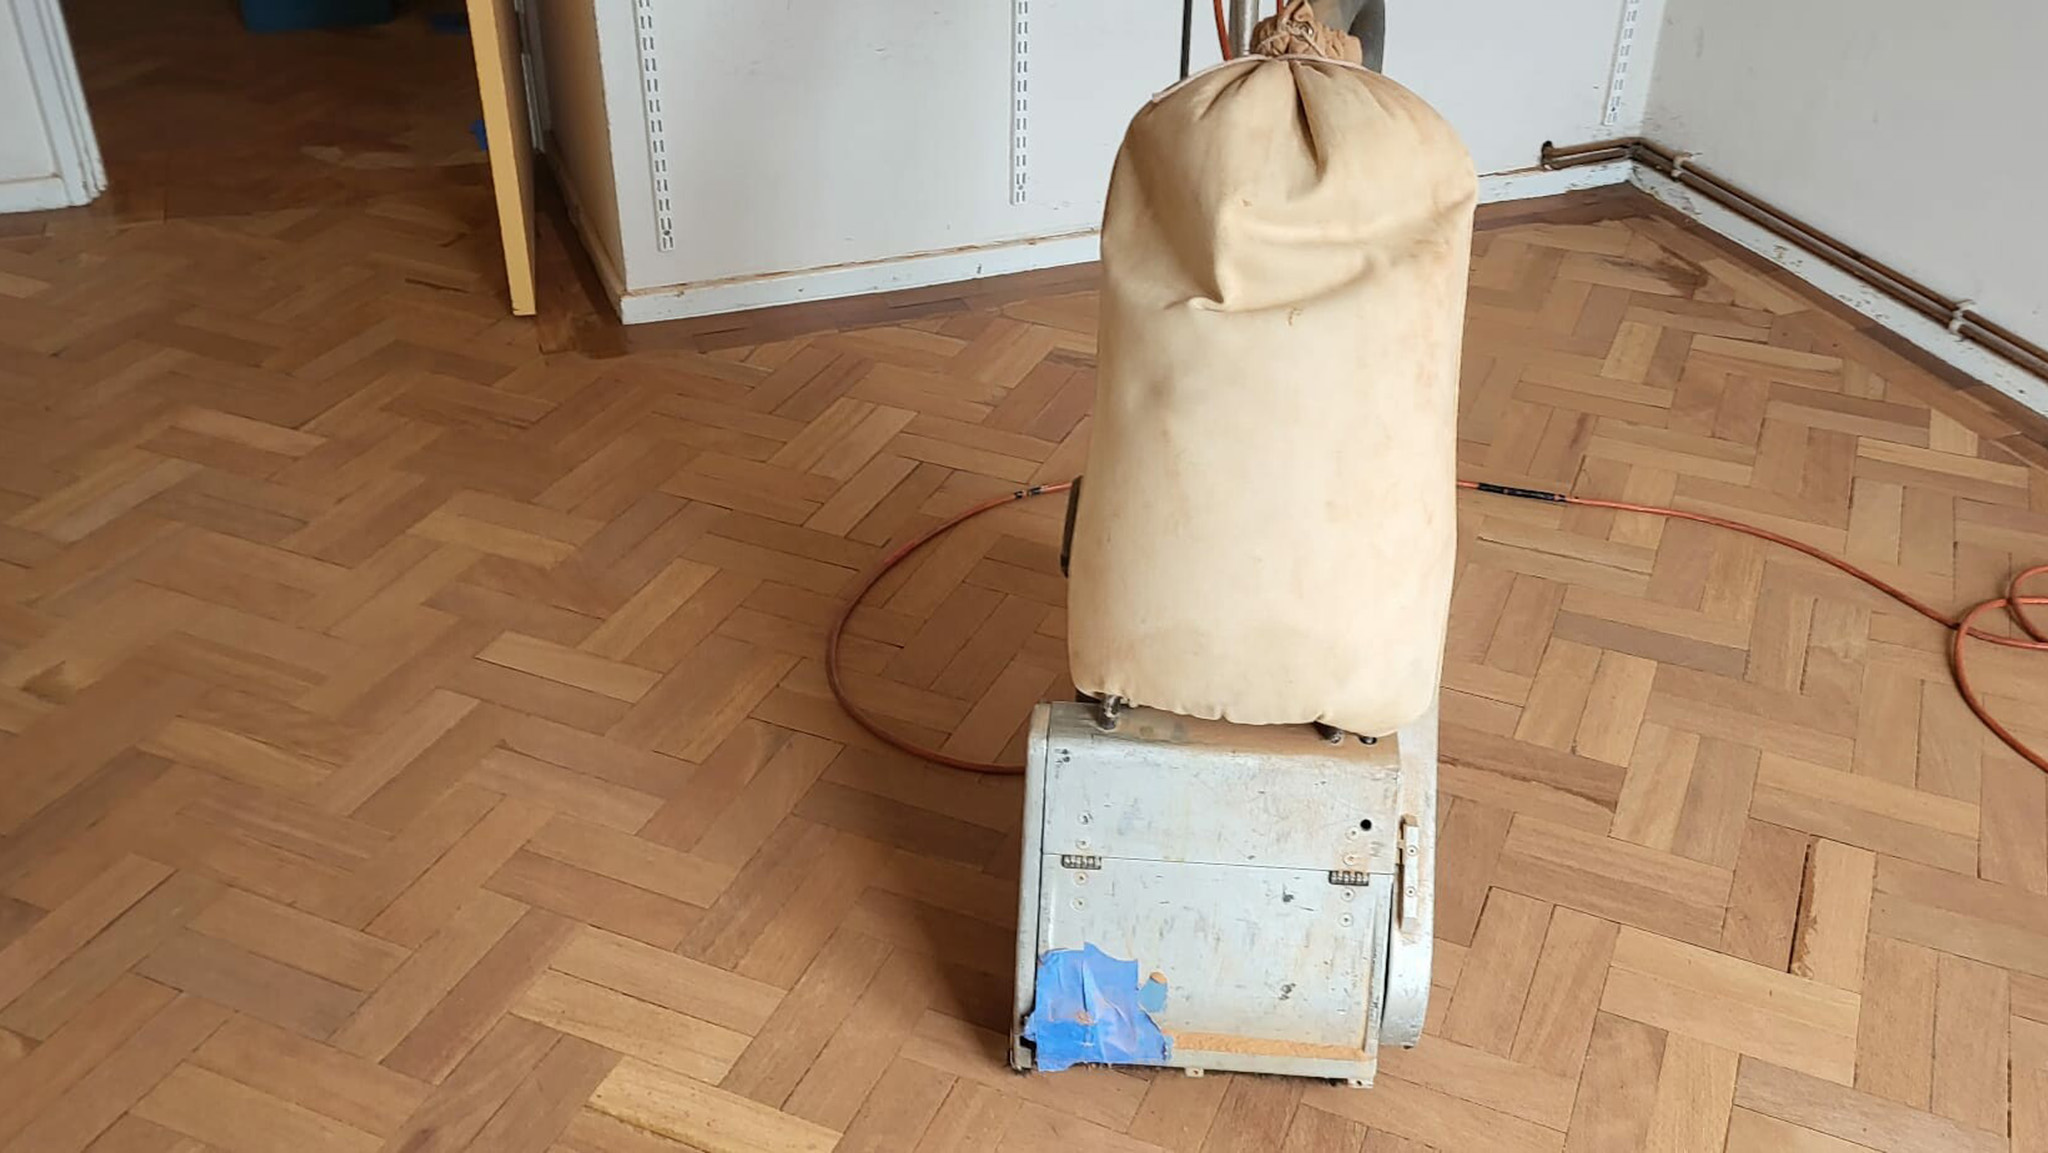
The equipment itself matters more than people expect. A drum sander is the aggressive tool used for the main body of a room — powerful, fast, and genuinely unforgiving in inexperienced hands. Pause it for even a second or two while it's running and touching the floor, and it will dig a visible dip into the timber that's very difficult to sand out afterwards without taking the whole surrounding area down with it. An edging sander handles the perimeter of the room and around fittings, using a different technique again, and a buffer or multi-disc sander is used for the final finishing passes before staining or coating. Each machine has its own learning curve, and drum sander gouges are, by a wide margin, the single most common reason a DIY sanding job ends up needing professional correction.
Identify the problem. Often there's a specific underlying cause behind whatever issue you're seeing. A buckling floor, for instance, points to excessive moisture — but where's it coming from? Is the subfloor damp? Is there a slow leak somewhere nearby? Was the floor even laid correctly to begin with? A basic moisture meter, run across a few spots on the floor before you start, can tell you fairly quickly whether you're dealing with a genuinely dry substrate or an active moisture problem that sanding alone won't fix. Find the actual cause, address it, and only sand once you know what you're dealing with — otherwise you risk doing all that work only to see the same issue return within a year or two.
Floor size and your own stamina. A proper floor restoration needs two things above all: good preparation and a lot of patience. Knowing what you're about to do and how to do it gets you halfway there — but plenty of people feel confident before starting a job and find their motivation running out partway through. Sanding a large open-plan space is physically demanding, repetitive work, and what looks manageable in a 10m² box room can feel like a completely different proposition across 40–50m² of connected living space. Be honest with yourself about how much time and sustained effort you're actually willing to put in before you commit to doing the whole job solo.
Finish condition. The more finish there is on the surface, the harder it is to remove. A worn, thin, already-distressed coating abrades away fairly easily. Factory-prefinished floors are a different story entirely — many carry a special aluminium-oxide protective layer that's extremely hard-wearing by design, which means it's also extremely hard to sand through. Getting down to bare wood on one of these floors can take significantly more passes, coarser grits, and more time than a standard site-finished floor, and underestimating that is a common way for a DIY job to run drastically over on both time and abrasive costs. Don't start a task you're not confident you can actually finish — a half-stripped floor is far worse to live with than one that was never started.
Why sand yourself?
Why sand it yourself?
Cost. It always comes down to money in the end. Manage the whole task competently on your own, and you can potentially save a meaningful chunk of what a specialist would have charged — though that's only true if everything goes smoothly. Equipment hire, abrasives at the right grit sequence, filler, stain, and finish all add up, and a DIY sanding job that goes wrong and needs professional correction afterwards can easily end up costing more overall than simply hiring a professional from the outset.
The feeling of satisfaction. Every real sander, professional or otherwise, knows this feeling — the moment after that last coat of finish goes on, when you mentally compare before and after and realise you've actually done a genuinely good job. A job that's visible to everyone who walks into the room, and a real testament to your own skill and patience.
No cut corners. Some flooring companies, particularly at the cheaper end of the market, do fast, rushed jobs using lower-grade products to hit a price point. Someone working carefully on their own floor, with no pressure to move on to the next job, can in principle do a more thorough job than a rushed hired crew — provided they genuinely have the skill, knowledge, and patience to see it through properly.
Why hire a professional flooring expert?
You pay for quality. Floor restoration is an investment either way — of your own time and effort, or of money. A professional with the right equipment, calibrated correctly and used daily, will typically produce a more even, better-finished result than the vast majority of first-time DIYers, and do it considerably faster.
Time is money. Sanding equipment isn't cheap to hire, and beyond the machine itself you're paying for consumables — sanding belts and discs at multiple grits, filler, stain, and finish, several of which will likely need buying in greater quantity than a professional would use, simply through the learning curve of figuring out the right technique as you go. Without training or experience, the job will almost certainly take considerably longer than it would take a professional, and that's time that could often be spent more valuably elsewhere. It's worth being honest about what your own free time is actually worth per hour before assuming DIY is automatically the cheaper option once everything is accounted for.
Dust, ventilation, and safety. This is a genuinely underrated factor. Sanding produces a large volume of fine wood dust, and without proper extraction equipment — the kind connected directly to professional-grade sanders — that dust spreads through the house far more than most people expect, settling into soft furnishings, air vents, and neighbouring rooms for days afterwards. Oil-based fillers and finishes also release fumes that need proper ventilation while curing, and prolonged use of heavy vibrating machinery like a drum sander carries a real risk of hand-arm vibration exposure over a long session — a professional's exposure is managed and limited across a working week, where a DIY job crams the same total machine time into a single weekend.
No further complications. Some people attempt to sand their own floor and part-way through realise they don't have what it takes to finish the job properly — an uneven surface, visible gouges, a botched stain job, or a finish that's cured unevenly. They then call in a professional to complete what they started, only to find the situation has actually gotten harder to fix than if no work had been done at all. Correcting an amateur sanding job often means sanding deeper than would otherwise have been necessary just to remove the mistakes, on top of paying for the professional's time, materials, and the equipment and consumables already spent on the failed first attempt. The extra difficulty and time caused by that first intervention shows up directly in the final bill — frequently wiping out whatever was originally saved by attempting it solo.