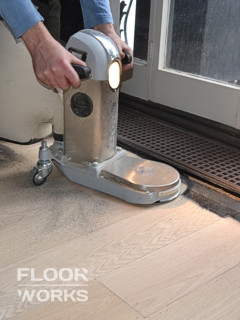
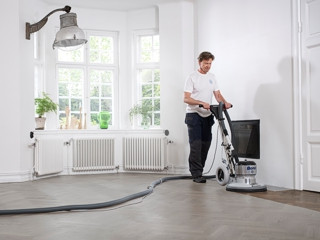
Floor sanding & buffing is the most effective cure for surface damages
Floor Sanding Is The Most Effective Solution For Surface Damages
Nothing lasts forever, and floors of any kind are no exception to that rule. There are plenty of potential issues that can trouble a hardwood floor over the years, but taking the right measures at the right time can help it stay healthy and attractive for far longer than neglect ever would.
About floor finishing products
Hardwood flooring embodies prestige, style, durability, and beauty — all of which is reflected in the price paid to have the very best. Given that investment, it's worth making sure the floor actually looks flawless and unblemished for as long as possible, and the single biggest factor in achieving that is the type of finish applied, since it determines exactly how much protection the wood actually receives.
The two most popular modern finish types are lacquers and oils. Lacquers provide the strongest surface protection, and the vast majority contain polyurethane, forming a hard, continuous film across the whole floor. Penetrating oils and waxes, by contrast, offer noticeably less surface shielding, but soak into the timber itself and protect it from within rather than sitting on top of it. How badly a given type of damage affects your floor is, to a large degree, decided by which of these two approaches — and how strong a version of it — was used in the first place.
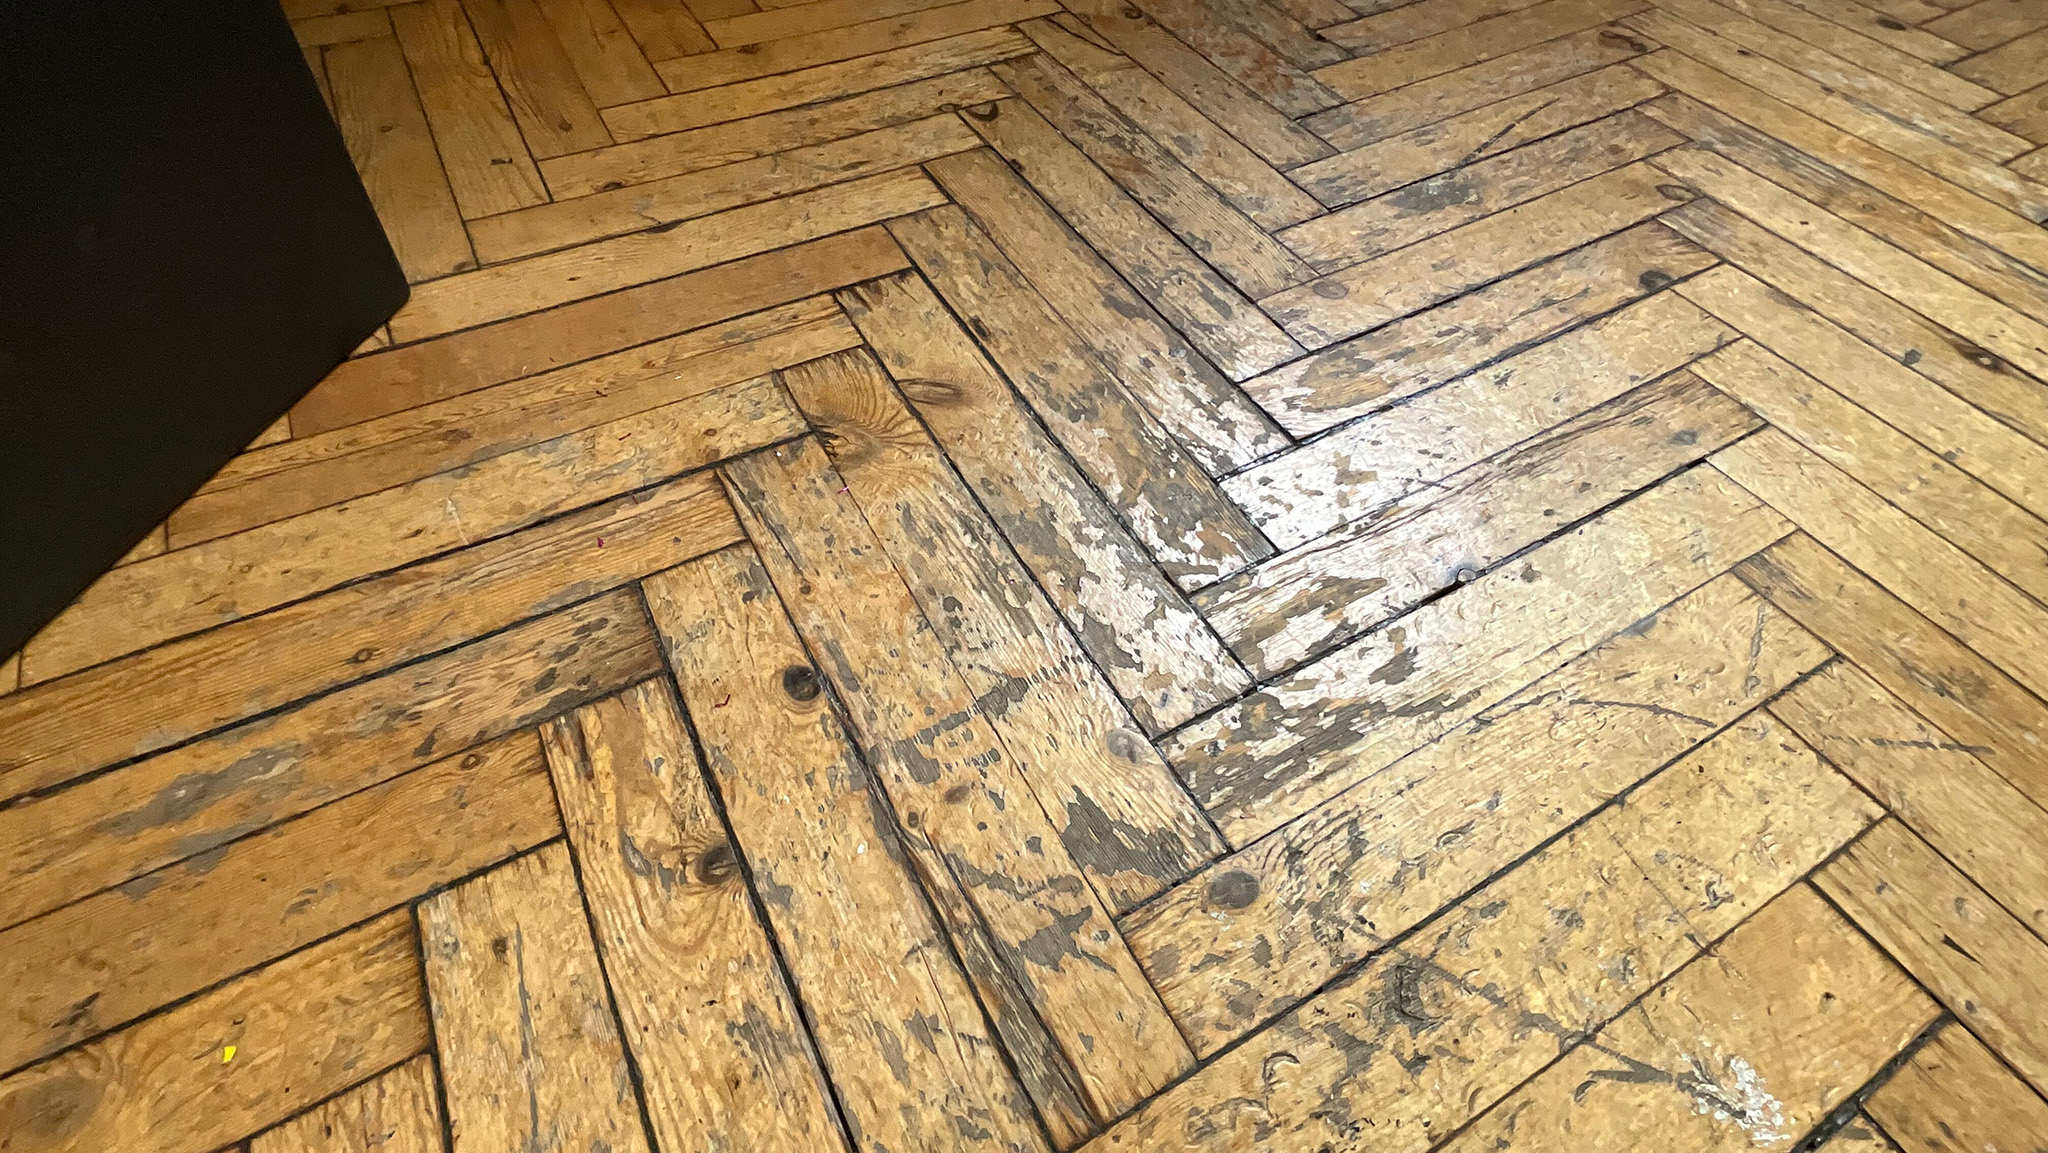
Types of surface damage
Scratches
Scratches are the single most common issue a wood floor develops, and lacquered floors are particularly prone to them, since a scratch that only marks the lacquer film is a very different problem to one that reaches the timber underneath. If a scratch is shallow and hasn't broken through the coating, there's no need to worry — a light buff and polish, or a proprietary touch-up pen matched to your finish colour, is usually all that's needed if you want it looking flawless. If bare wood is exposed, the process is a bit more involved: clean the area first without water (a dry or barely-damp cloth to avoid driving moisture into the exposed grain), buff it gently with fine (grade 0000) steel wool to smooth the edges of the scratch, then re-apply the finish to that spot, feathering it out slightly into the surrounding area so the repair doesn't leave a visible edge. Oil-finished floors are generally easier to spot-repair this way than lacquered ones, since oil can be reapplied locally without the sheen mismatch that a patched lacquer repair sometimes shows under certain light.
Food spills
It's easy to assume this only happens in the kitchen, but food and drink spills can occur almost anywhere in the house. Wiping immediately with a dry cloth should solve most minor spills before they cause any real problem. If something has been left to dry on the surface, a damp cloth and a bit of gentle rubbing will usually lift it. As long as the floor carries a good-quality polyurethane lacquer, it should be well protected against everyday spills. Be particularly quick with acidic liquids, though — things like vinegar, citrus juice, or wine can etch or dull a lacquer finish if left to sit, even briefly, in a way a plain water spill wouldn't. Liquid spills in general present a more serious threat than dry debris, since liquid has the ability to soak straight into the timber if the finish has any weak points — cleaning up any spill as quickly as possible is genuinely the single most effective thing you can do to protect the floor day to day.
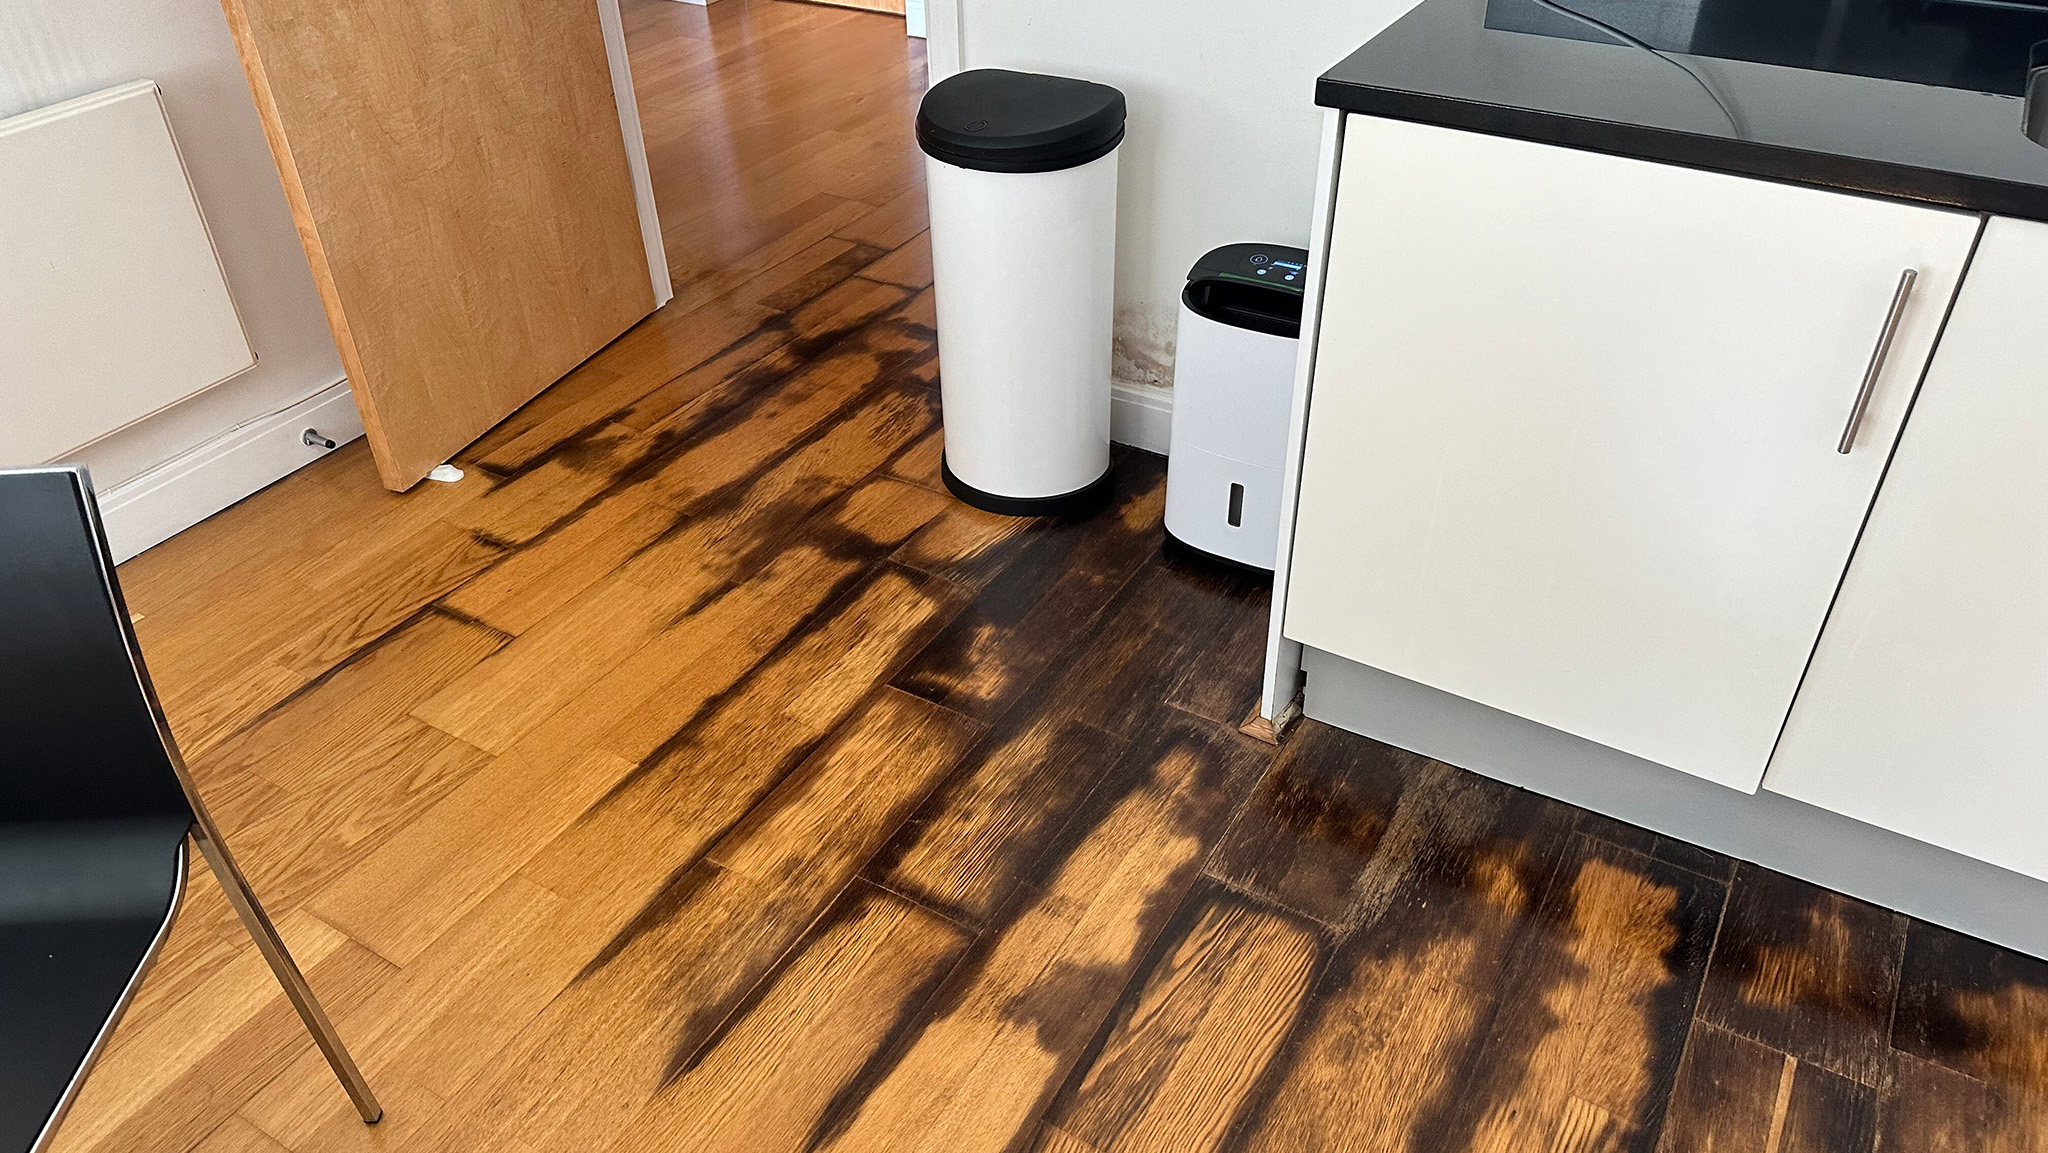
Pet accidents
These are among the toughest floor problems to deal with properly. If the liquid has managed to soak in deeply, it can be genuinely difficult to remove even with a full floor sanding service, because urine contains uric acid, which reacts with the tannins in the wood and can leave a dark, stubborn stain that sits below the surface the sander reaches on a normal pass. Wood bleach (oxalic acid, applied carefully and exactly to manufacturer instructions) combined with sanding and a matched stain can at least make the damaged patch considerably less noticeable, though a genuinely deep, old stain may need a deeper cut than a standard refinish to fully remove. Catching a fresh accident quickly — blotting rather than rubbing, and using an enzymatic pet-odour cleaner rather than a standard household one — makes a real difference to whether it ever reaches that stage at all.
Burns
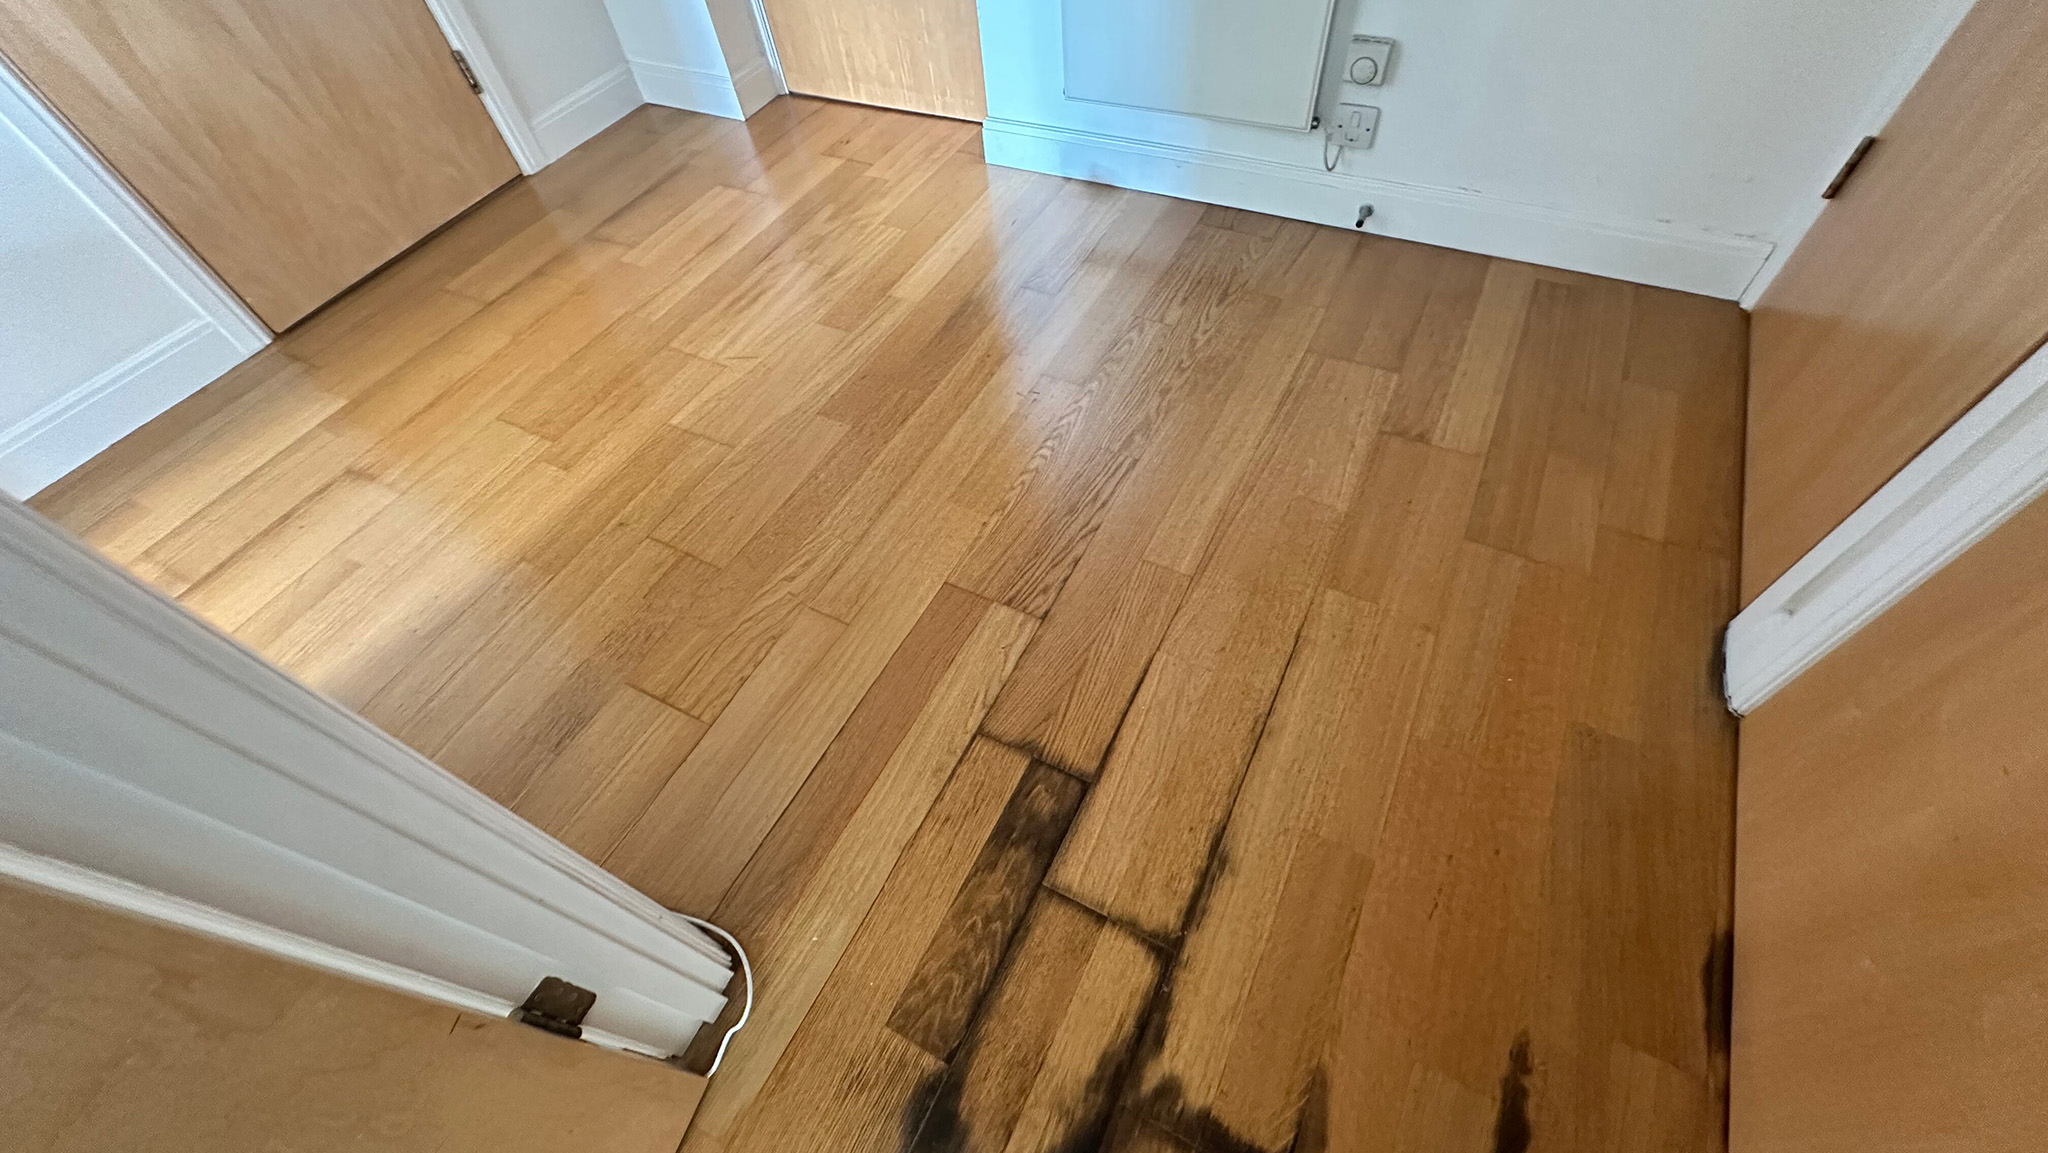
Less common than scratches or spills, but they do happen — near a fireplace, from a dropped cigarette, or from a hot pan set down carelessly in the kitchen. Light surface burns can usually be buffed out and quickly refinished without much drama. Bigger, more serious burns need a more involved repair: the damaged timber is carefully cut out with a sharp blade, the area is sanded smooth, and wood putty — a filler compound used for exactly this kind of floor imperfection, ideally colour-matched to the surrounding timber — is used to fill the resulting recess flush with the surface. From there, it's simply a matter of refinishing the patch and giving it proper time to cure before the area goes back into regular use.
Dents
Usually caused by dropping something heavy — furniture legs, a dropped tool, a kitchen appliance. One well-known DIY fix is to hand-scrape the finish off the dented area, cover the dent with a damp towel, and rest a hot iron over it for roughly three to five minutes. The heat turns the moisture in the towel to steam, which penetrates the wood fibres and causes them to swell back out, gradually lifting the dent from within. It genuinely works well on solid timber, but it needs a careful hand — overdo the heat or the dwell time and you risk scorching the wood or damaging the surrounding finish. It's also worth flagging that this technique isn't suitable for every floor: on engineered boards with a thin veneer layer, the heat and moisture can risk lifting or damaging the glue bond beneath the surface, so it's worth being cautious, or getting a professional opinion, before trying it on anything other than solid hardwood.
Mould
Mildew thrives in damp conditions — under a carpet or rug, near potted plants, close to poorly insulated external walls, and especially in basements or ground-floor rooms with limited ventilation. Generally speaking, mould shouldn't become a real problem as long as the floor's finish is properly intact and sealed; on a lacquered surface, it can usually be wiped away with soap and a small amount of water without any lasting issue. If the finish has been breached and bare wood is affected, the area needs buffing, thorough cleaning to remove all debris and spores, and refinishing to properly seal it again. It's worth remembering that visible mould is often a symptom of a bigger underlying moisture problem rather than the problem itself — persistent mould in the same spot is a good reason to look into ventilation, insulation, or a possible damp source nearby, rather than just treating the same patch repeatedly and expecting it to stop coming back.
When to sand, and when not to
As you can see, most of these fixes ultimately come back to two tools: buffing or full floor sanding, followed by applying fresh protective coating. Contrary to popular belief, though, more sanding isn't automatically better — strip the surface too often and, eventually, you reach a point where there simply isn't enough solid timber left above the tongue-and-groove joint for sanding to remain an option at all, an outcome that ultimately shortens the floor's overall lifespan rather than protecting it. Refreshing a floor from time to time is genuinely worthwhile, and part of getting real long-term value out of the investment a hardwood floor represents — the trick is not overdoing it, and reaching for a full sand every few months the way some overly cautious owners are tempted to.