How moisture affects wooden floors
Moisture and Humidity: Wood Flooring's Biggest Enemy
If you're familiar with wooden floors, or already own one, you've probably heard that moisture and humidity are considered wood's most serious enemy. That's genuinely true — but it doesn't mean there's nothing you can do about it. There are real, practical ways to prevent moisture and humidity from seriously affecting your floor's condition and appearance, provided you understand what's actually happening and respond to it properly when problems do show up.
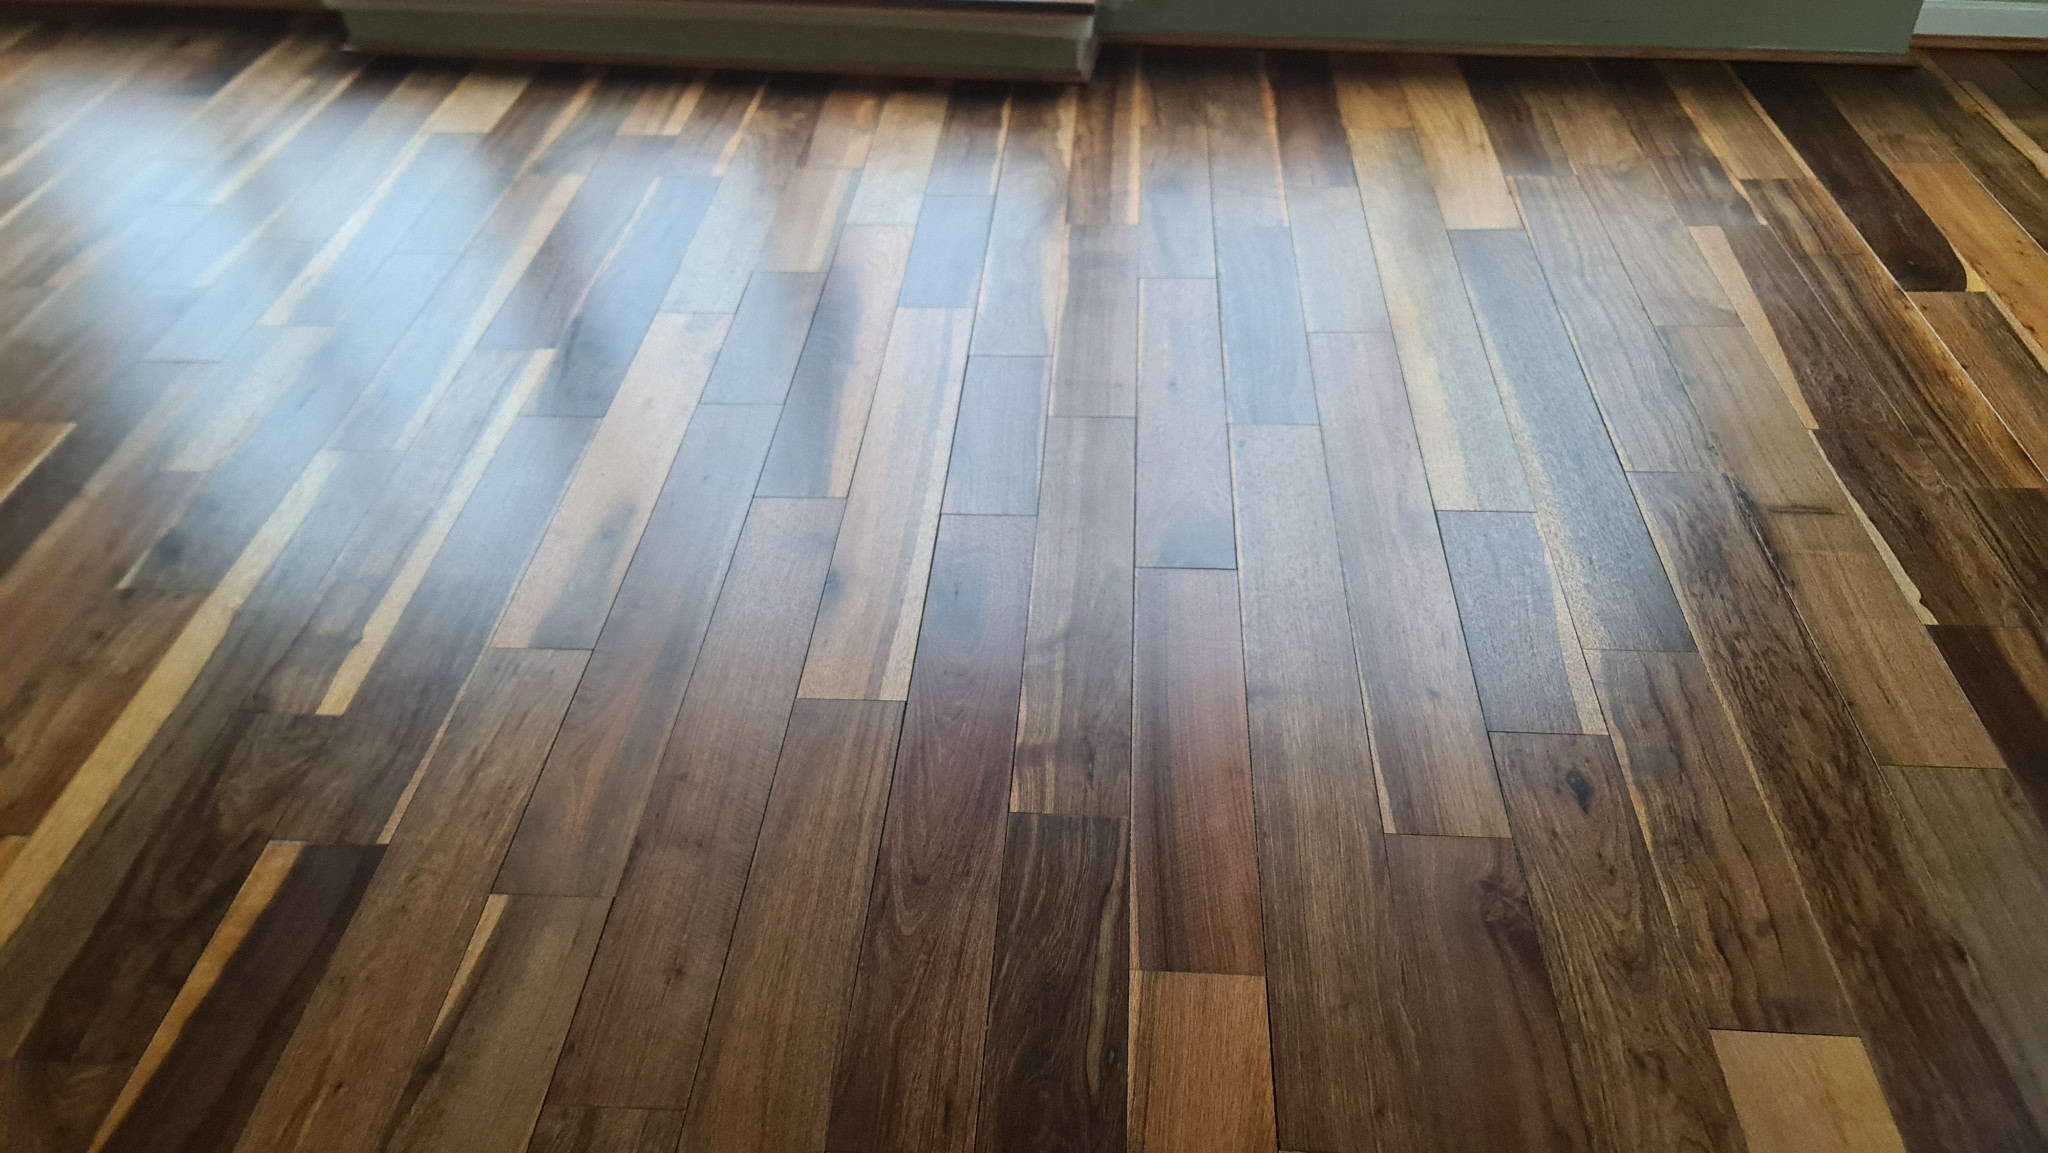
How does moisture affect the appearance of wood flooring?
Parquet, solid wood, and engineered wood floors are all, fundamentally, natural products. Even once cut into floorboards, wood remains a living, responsive material, reacting constantly to changes in its surrounding environment. When that environment shifts dramatically, the wood shifts with it — often dramatically too. Timber has a naturally porous structure that's strongly affected by humidity, moisture, and significant temperature swings. When indoor humidity climbs, or a genuine moisture issue develops nearby, the wood starts to struggle, and the floorboards begin to "move" — contracting and expanding in direct response to those environmental changes. Most of the time, this movement is nothing to worry about; wood has a natural tolerance for small, seasonal fluctuations, and boards typically settle back to their original shape once conditions normalise. Push that moisture exposure further, though, and the timber can't always recover on its own.
As a practical benchmark, wood flooring in a typical UK home is happiest with an internal relative humidity somewhere in the 40–60% range and a timber moisture content of roughly 6–10%, depending on species and the specific heating system in use. Readings that sit persistently well outside that range — either direction — are where real problems start to develop, and a simple pin-type or pinless moisture meter, used on the floor itself, is a genuinely useful and inexpensive way to keep an eye on this rather than waiting for visible symptoms to appear.
It's also worth distinguishing between the different ways excess moisture actually shows up, since they're not all the same problem:
Cupping — the edges of each board rise slightly higher than the centre, usually caused by the underside of the board absorbing more moisture than the top surface, often from a damp subfloor.
Crowning — the reverse: the centre of the board sits higher than the edges, which often appears after a cupped floor has been sanded flat while still holding excess moisture, and then dries out further afterwards, over-correcting in the opposite direction.
Buckling — a more severe reaction where boards actually lift away from the subfloor entirely, sometimes by a significant amount, usually following a serious, sudden moisture event like a flood or major leak rather than gradual humidity drift.
One of the most common groups of issues a wooden floor can develop as a result of moisture and humidity includes loose or broken floorboards, weakened adhesive bonds, popping nail heads, the ballooning or lifting described above, and chipped or generally distressed finish, among others. As you can probably tell, these are genuinely significant problems requiring major repair work — time-consuming, often expensive, and generally stressful for whoever's dealing with them.
Moisture problems can stem from a range of causes: a leaking roof, other plumbing leaks, pipework running underneath an already-fitted wood floor, or a serious, unaddressed liquid spill can all cause real trouble for a floor's condition and appearance. That said, one of the single most common root causes actually comes from below — the subfloor itself. Concrete subfloors are extremely common, and they're a genuine moisture risk, particularly in newer builds, since concrete can retain significant residual moisture from the construction process for a surprisingly long time — sometimes many months — before it's genuinely dry enough to safely receive a wood floor above it.
How to prevent and deal with wood floor moisture issues
One of the most important, non-negotiable steps in avoiding moisture problems altogether is letting newly purchased floorboards properly acclimatise to their new environment before installation. As already covered, wood continues responding to its surroundings even after being milled into flooring, so a floor fresh from the factory, having just been transported and delivered, needs time to adjust to the specific temperature and humidity of the room it's going into. In practice, this means leaving the flooring materials out of their packaging, in the actual room where installation is planned, for several days — typically somewhere in the range of three to seven days, though thicker solid boards or particularly dense species can benefit from longer, and it's always worth checking the specific manufacturer's guidance for the product in question. It might sound like a minor, skippable step, but it genuinely isn't — properly acclimatised boards are far less likely to develop gapping or cupping in the months after installation, and skipping this step is one of the most common, entirely avoidable causes of early moisture-related problems.
Proper subfloor preparation is just as important. As mentioned, concrete subfloors commonly carry higher-than-ideal moisture levels, and over time that trapped moisture will gradually migrate upward and affect the floorboards above it, eventually leading to real problems. The most reliable way to avoid this is hiring a professional wood floor installation contractor who will properly test the subfloor before laying anything — commonly using a calcium chloride test or a relative humidity probe placed under a sealed cover for a set period, in line with recognised industry guidance such as British Standard BS 8201 or BS 8203 for timber flooring installation — and confirm it's genuinely dry enough before proceeding. It's also worth considering a proper damp-proof membrane installed beneath the boards, acting as a physical moisture barrier that stops residual moisture in the concrete from ever reaching the timber above it in the first place, regardless of how the subfloor's moisture level develops later on.
It's also worth knowing that engineered wood floors generally handle moderate humidity fluctuations better than solid timber, thanks to their cross-layered core construction resisting movement more effectively — worth bearing in mind if you're installing over a subfloor or in a room where humidity control is inherently harder to guarantee, such as a kitchen or a room with underfloor heating.
Moisture problems can still occur even with proper acclimatisation and subfloor preparation, though — sometimes from a source entirely unrelated to the original installation. If that happens, the best course of action is contacting a reliable, experienced wood flooring contractor who can properly identify the actual source of the problem, assess its severity, and recommend the right next step. Resist the temptation to deal with a moisture issue yourself without a proper diagnosis first — without knowing the actual cause, well-intentioned DIY fixes can easily make the underlying problem worse rather than better. Wood floor moisture issues genuinely shouldn't be ignored, but there's also no need to panic — the great majority of cases are fixable, often through a combination of addressing the moisture source and a professional sanding and refinish once the floor has properly dried out and settled back to a stable, even shape. Prevention, though, remains by far the cheapest and least stressful route, and it's well worth keeping front of mind from the very start of any wood flooring project — whether that's choosing the right species for a room's specific conditions, or simply being realistic about how much moisture exposure a given space is likely to see over the years ahead.


